How to Paint over Varnished Wood
Painting over varnished wood can be a challenging task, but it can also be a great way to give a new lease on life to furniture or wooden surfaces. A far quicker and cheaper solution compared to replacing your woodwork.
While varnished wood does have some resistance to water and light scratches, it can make the surface of the wood non-porous, which can make it difficult for paint to adhere. However, with a little preparation and the right technique, applying paint to your varnished surface couldn't be easier.
In this helpful how-to, we will discuss the steps required to paint over varnished wood and achieve a beautiful, long-lasting finish.
Step-by-Step Guide to Painting over Varnished Wood
Ready to paint your wooden surface? Follow this step-by-step guide.
Clean the Surface
Over time surfaces gather a whole load of dust, grease, or debris which if not cleaned first will act as a contaminant and impact the paint's ability to effectively adhere to a surface.
To clean the surface take a soft cloth and wipe down the surface with our cleaning agent; Maalipesu, or alternatively with a mild detergent and water. After a thorough cleaning, make sure the surface has fully dried before you continue.
Sand the Surface
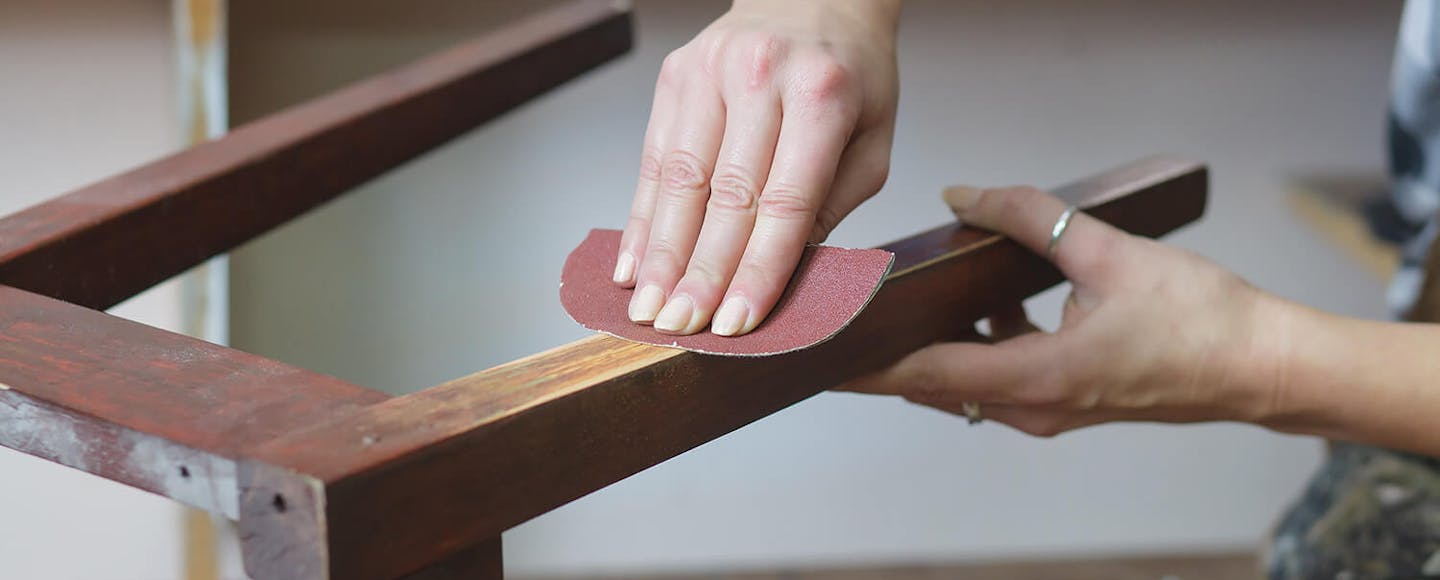
Now you have a clean surface to work with it's time to remove that top layer of varnish from the wood.
For this task, you'll want a sanding block and some medium-grit sandpaper. Somewhere between 120 and 150 grit will work well here. Sand it down until the glossy appearance of the wood has been replaced by a smooth matt texture.
Again, wipe this down with a cloth removing any dust and debris which is still sitting on the surface from sanding.
Apply a Primer
Next, it's time to apply a primer . This will help ensure that the paint will adhere well to the newly prepared wooden surface ensuring that you have an ideal substrate to work on.
When dealing with surfaces such as this, we recommend our Otex Adhesion Primer - an adhesive solution that has been specifically designed to work on challenging areas and to provide a solid base for topcoats.
Make sure you give it enough time to dry completely following the instructions on the product data sheet. For Otex Adhesion, that recommend window is 24 hours for the next coat to be applied - although the surface will be touch dry after one hour.
Apply First Coat
After you've given the primer a chance to fully dry, it's time to apply your first coat of paint. For a durable, topcoat for interior wood, we recommend our Helmi range (which has 3 finishes available - matt, semi-matt, or gloss). This is a hardwearing water-based acrylic paint with high levels of colour opacity.
Apply a level coating and give allow time to dry completely before applying the next coat. .
Lightly Sand
Once your first coat has fully dried you'll need to lightly sand the surface. You'll use finer grit sandpaper around 220 to 240 grit for this task. The purpose of this light sand is to smooth out any imperfections and help ensure strong adhesion of subsequent coats.
Apply Second Coat
Now it's time to apply your second coat of paint. Just follow the same process as the first coat laid out above. When it dries you can make the decision of if you need a third coat if you are not happy with the finish.
By following these steps, you can successfully paint over varnished wood and achieve a beautiful, long-lasting finish.


