Assess your surface
Freshly plastered, previously painted or wallpapered? Preparation can vary depending on what you are dealing with.
A freshly plastered wall is the easiest to paint, as there are no visible blemishes or cracks. Steps like sanding and filling won’t be necessary. You will need a coat of primer before the topcoat for an opaque, vibrant colour. Do not skip this step, as the plaster will soak up the paint and more coats will be necessary.
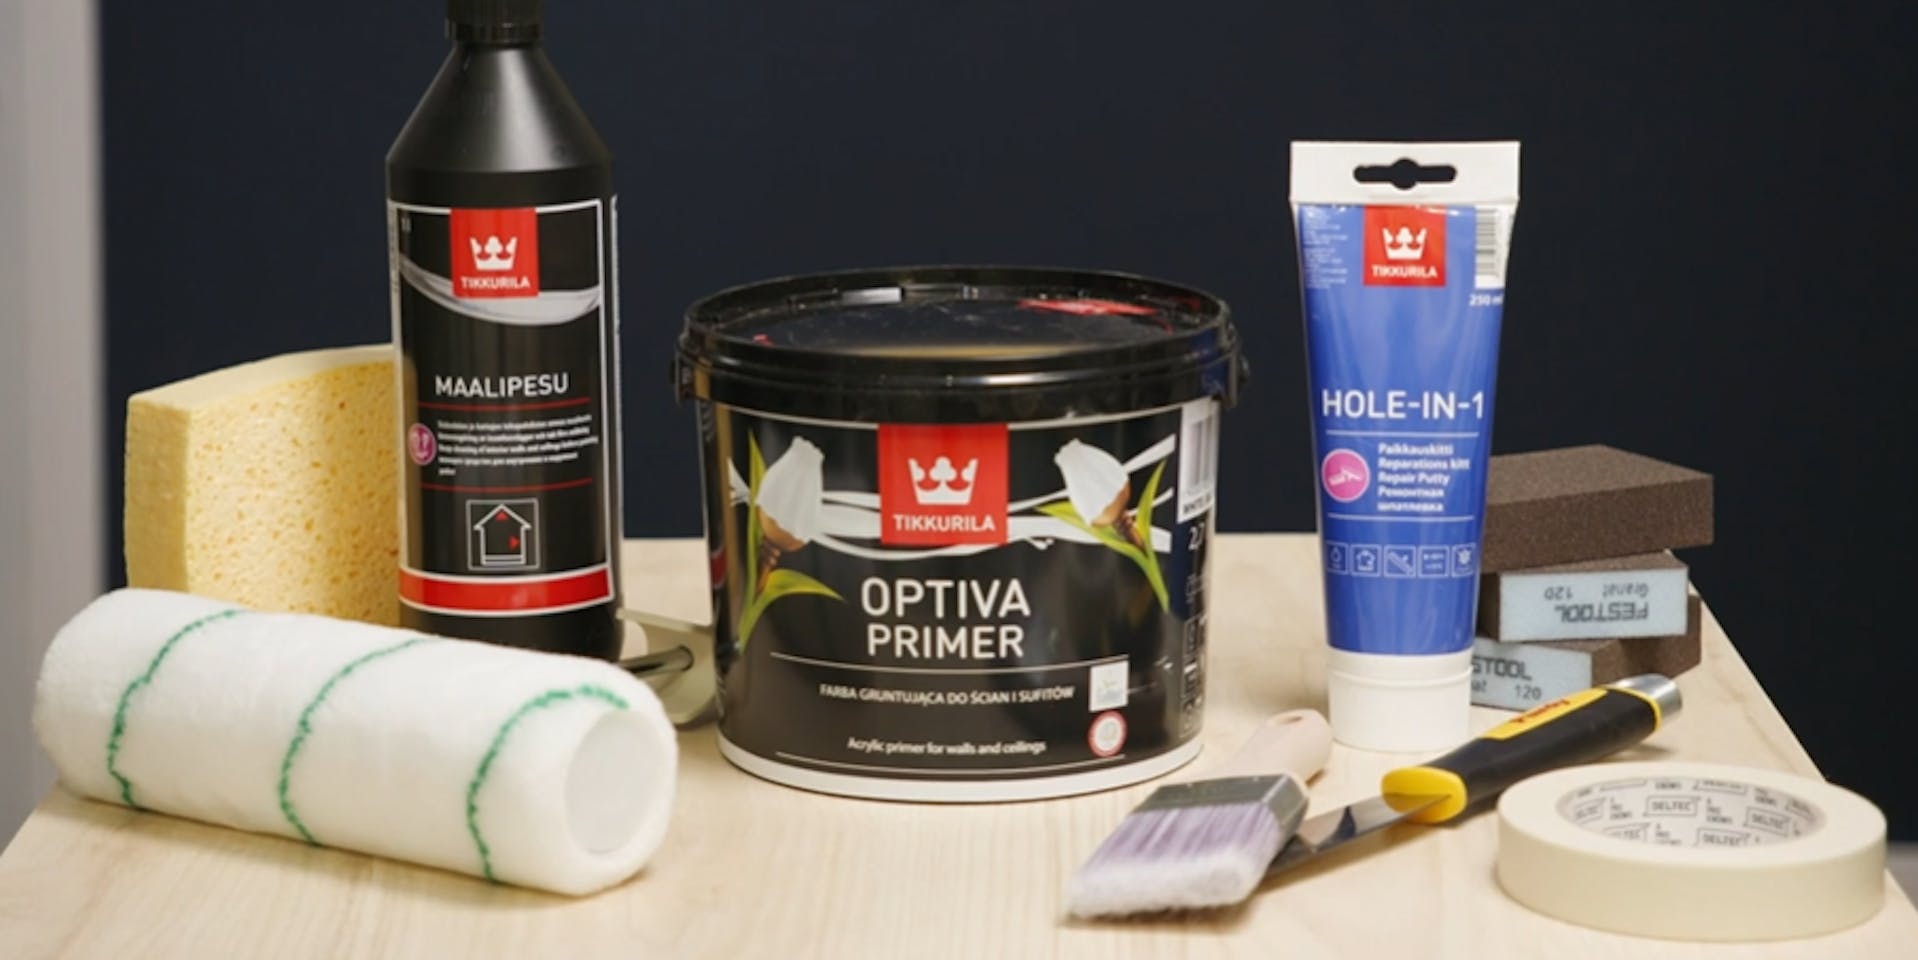
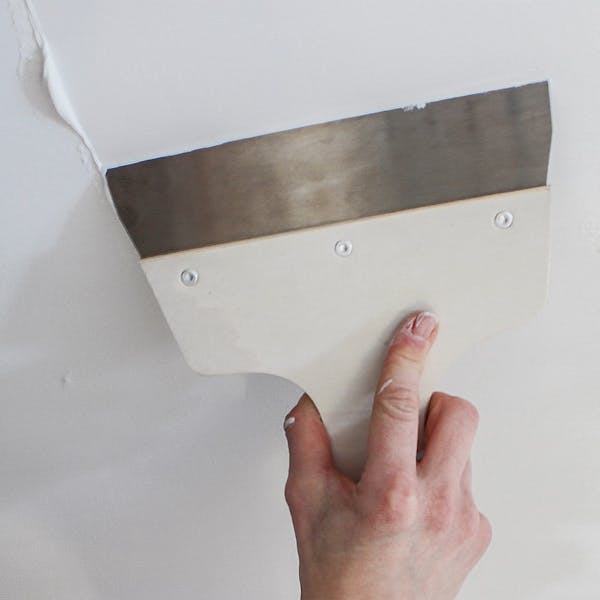
Previously painted wall? Here’s where a sanding block and filler will come in handy. For a smooth and seamless finish, use a filler to fill any cracks in the wall and tackle any peeling paint with a sanding block as seen in our video.
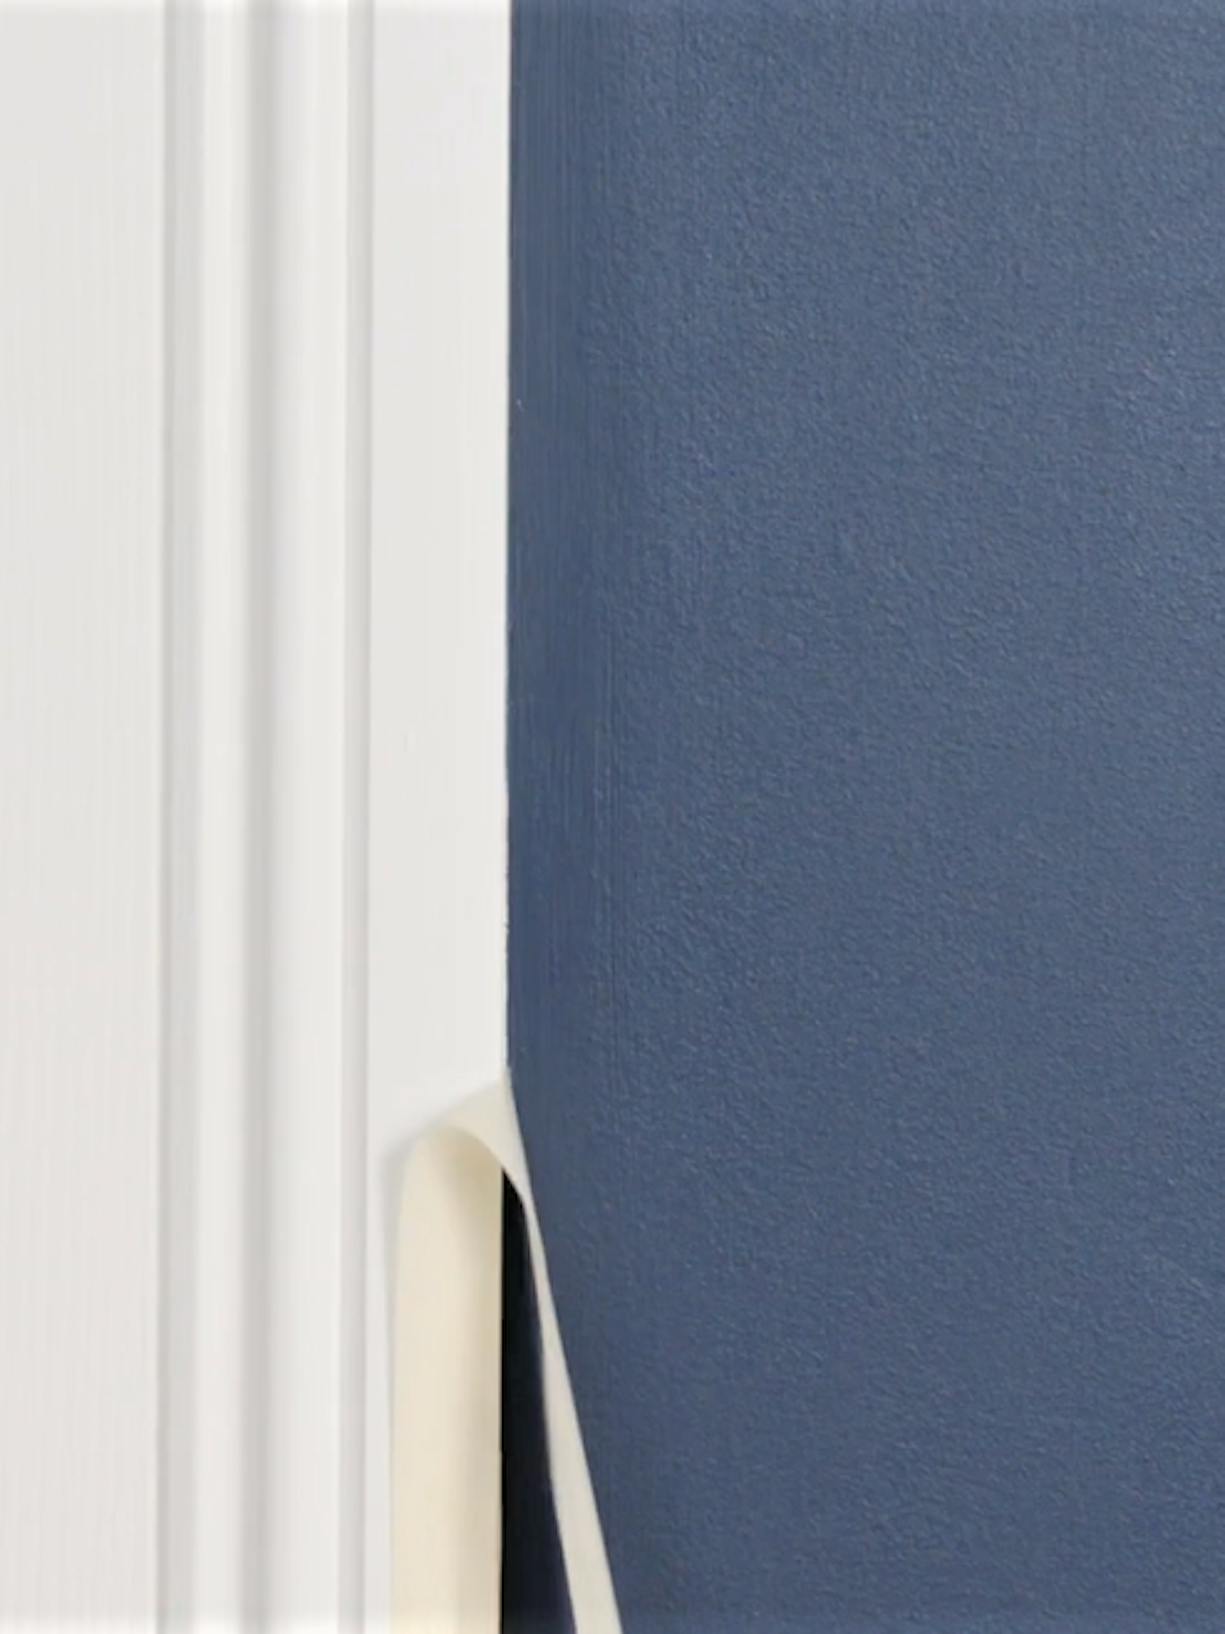
Previously wallpapered wall is the most time-consuming to prepare, as we advise not to paint on top of wallpaper. Remove the wallpaper before applying your topcoat with a stripping knife and be careful not to damage the plaster underneath. For any tricky patches of wallpaper that are hard to remove, use a damp sponge on the area to soften it and sand away any remaining pieces.
Select the right primer for the job
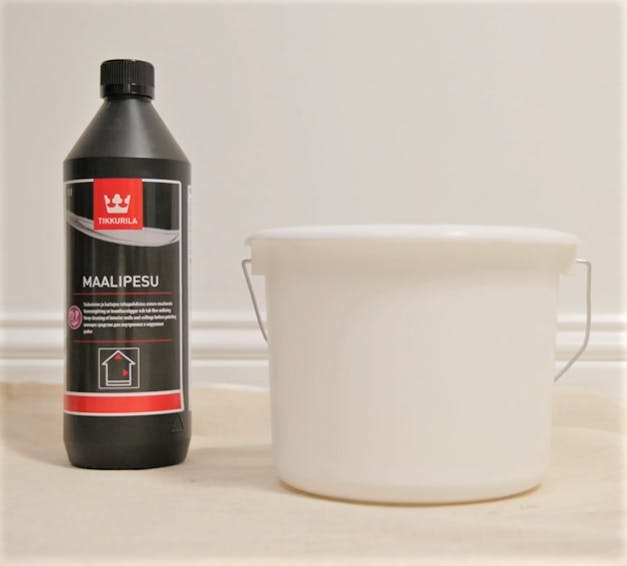
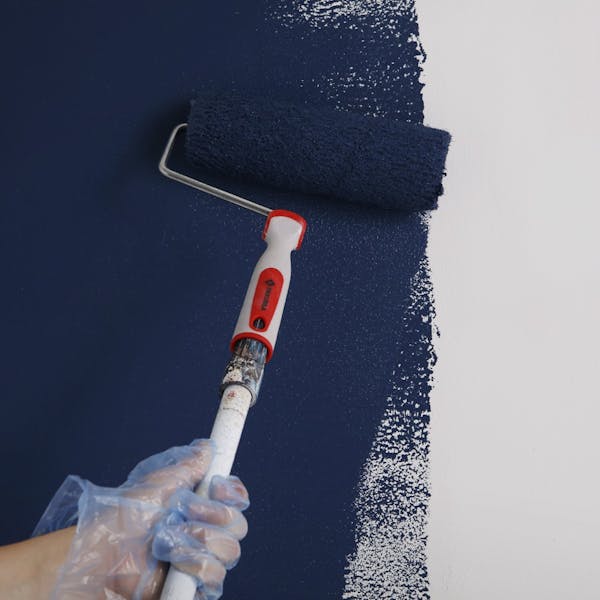
Whether the surface is freshly plastered and porous or stained and in need of good coverage, a primer will help you achieve a clean and smooth base for your paint. Optiva Primer is our go-to product when it comes to painting interior walls and ceilings. For priming kitchen or bathroom, we recommend our Luja Universal Primer. It is perfect for treating humid areas before painting, providing a moisture-blocking film, suitable for repeated scrubbing.
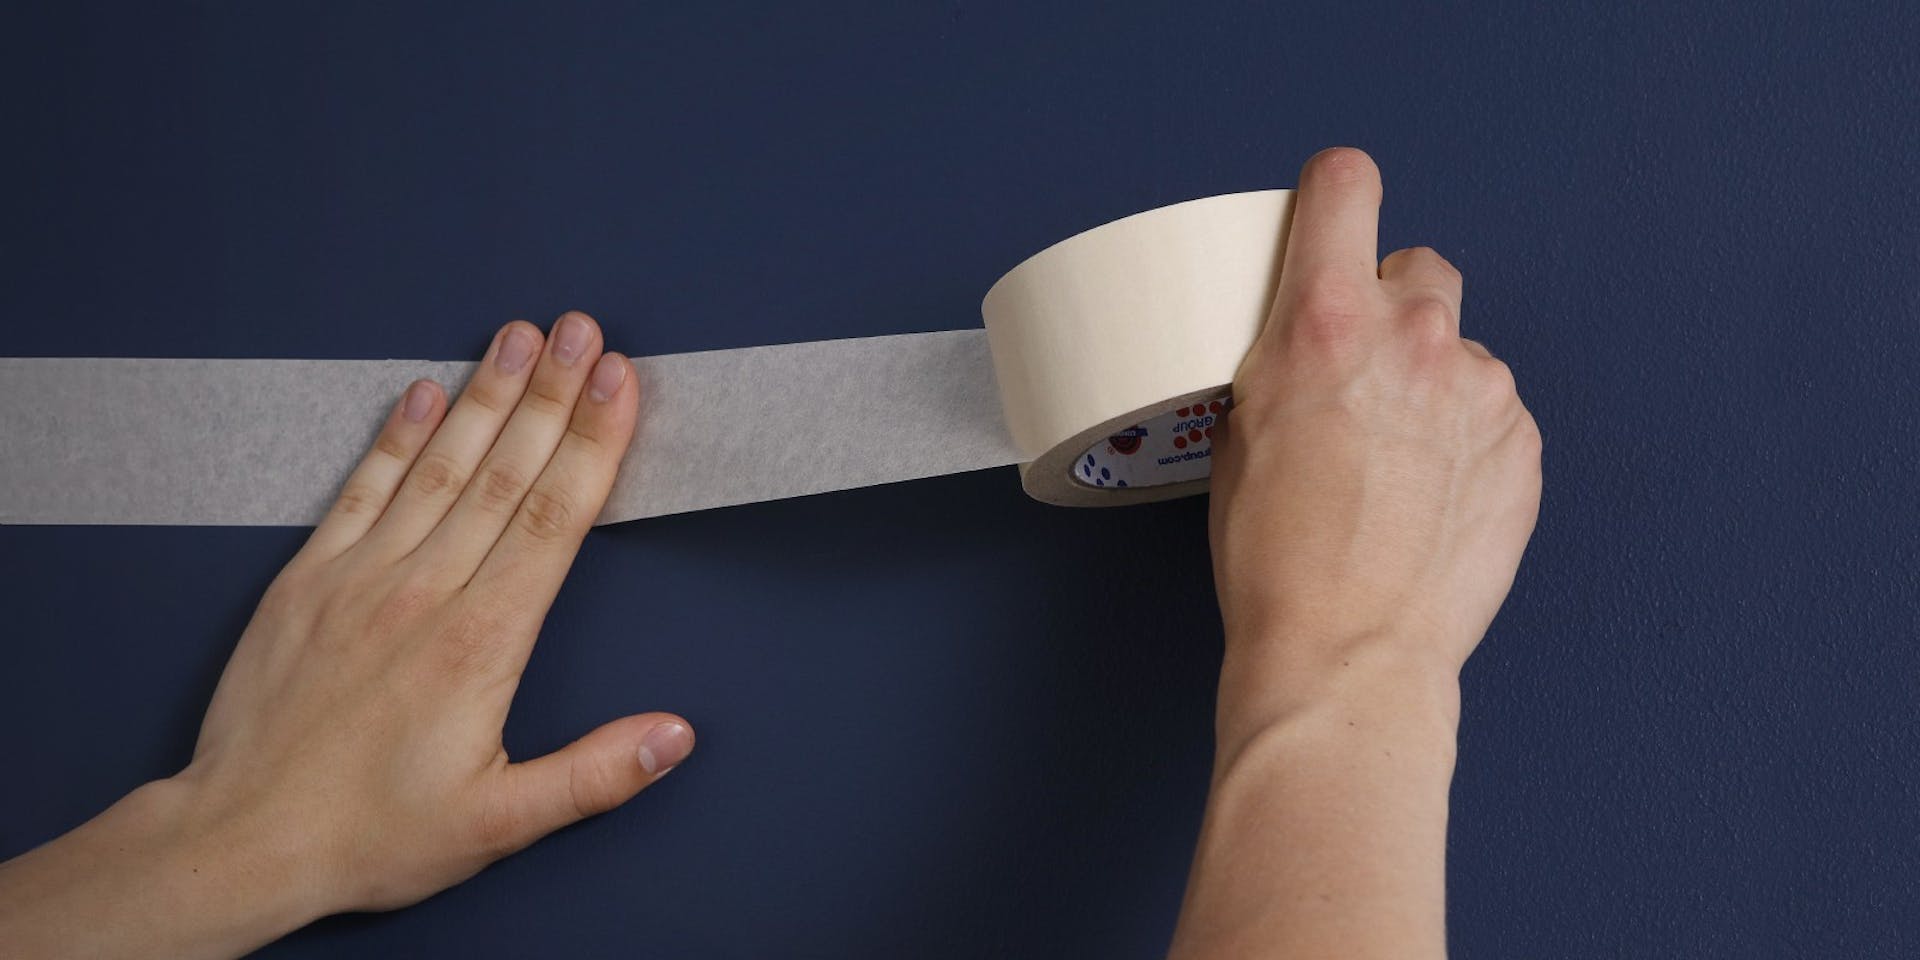
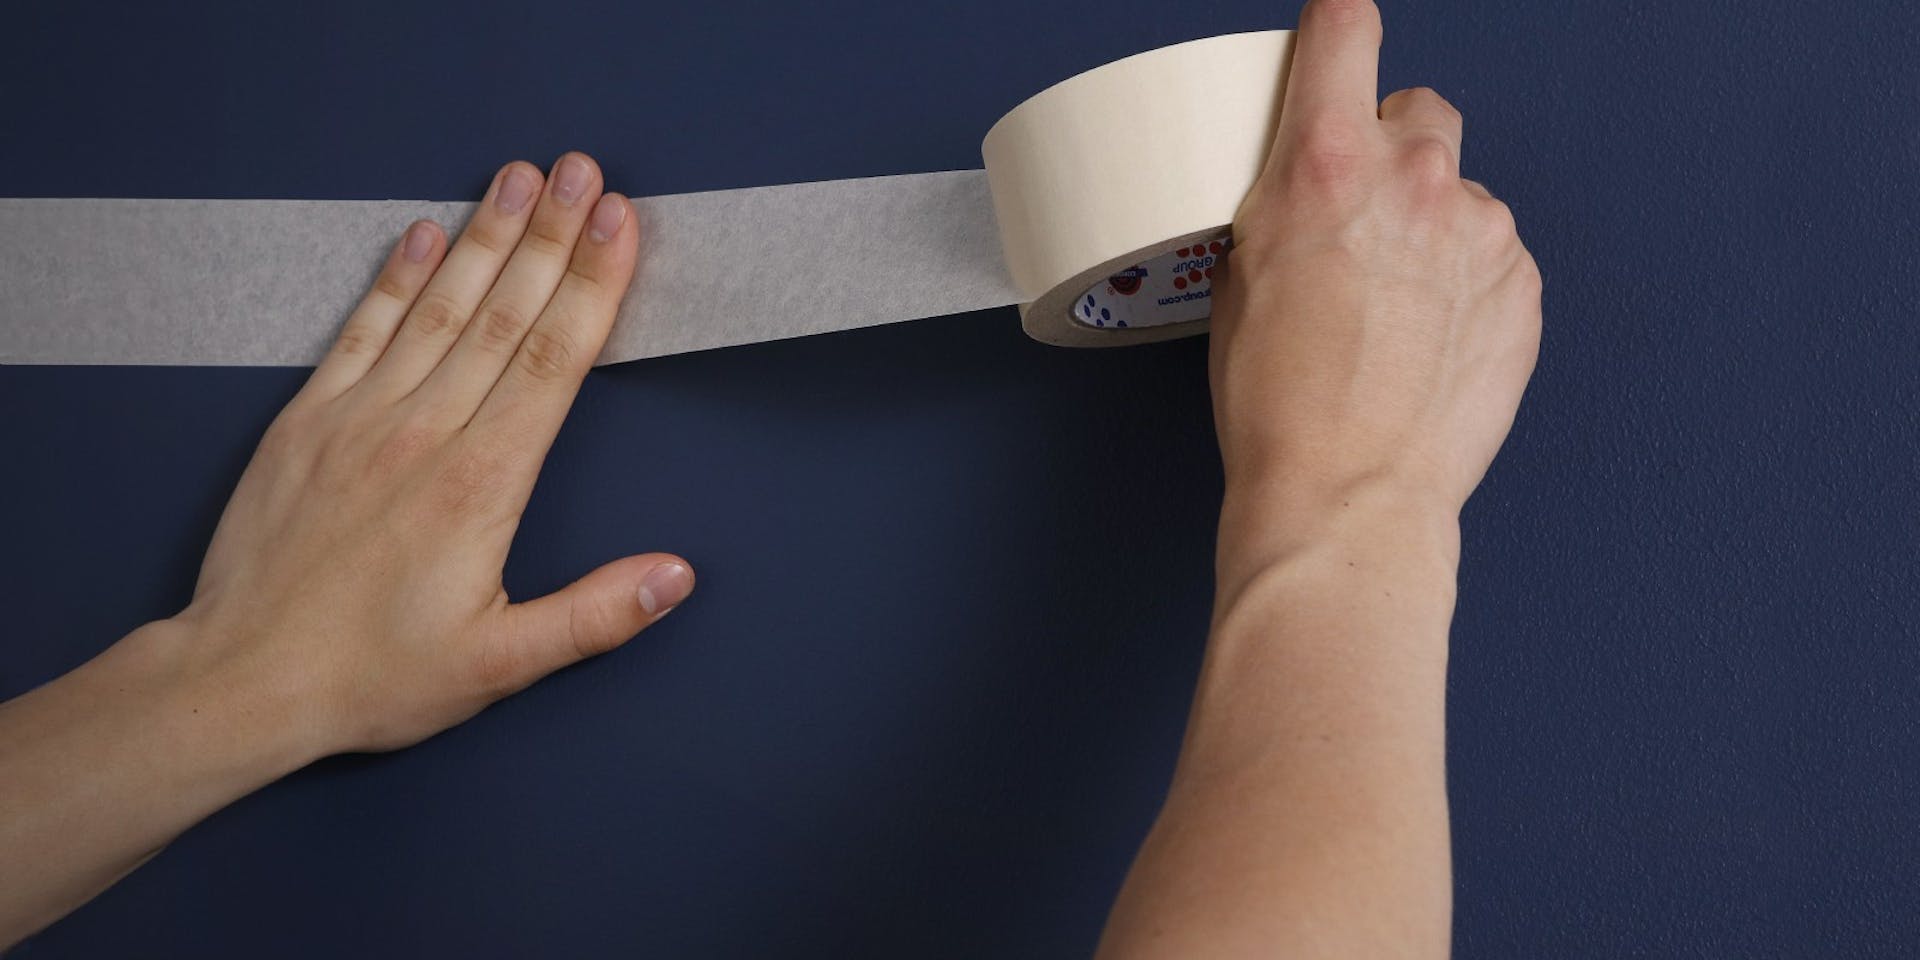
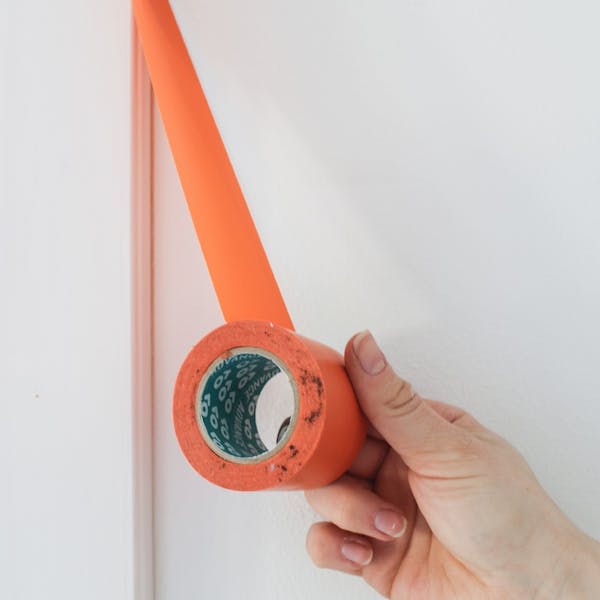
Get set up
Once you have all your tools ready, it’s time to set up your working area. Move all your furniture out of the room or move it to the centre making sure all is covered with a protective sheet. We also recommend covering your floors to protect the surface from dirt, dust and splashes.