FREE Express Delivery on all Orders - Ends Soon
Fully renovated fence

When your garden fence is starting to look a little tired, painting it is the best way to give it a fresh, new look. It will also provide your fence with protection against UV rays and adverse weather, to ensure it stays looking nice for years to come. Regardless of your level of DIY experience, painting a fence is pretty straightforward, so let’s get started!

Garden DIY Tips | Dirty Fence | Tikkurila

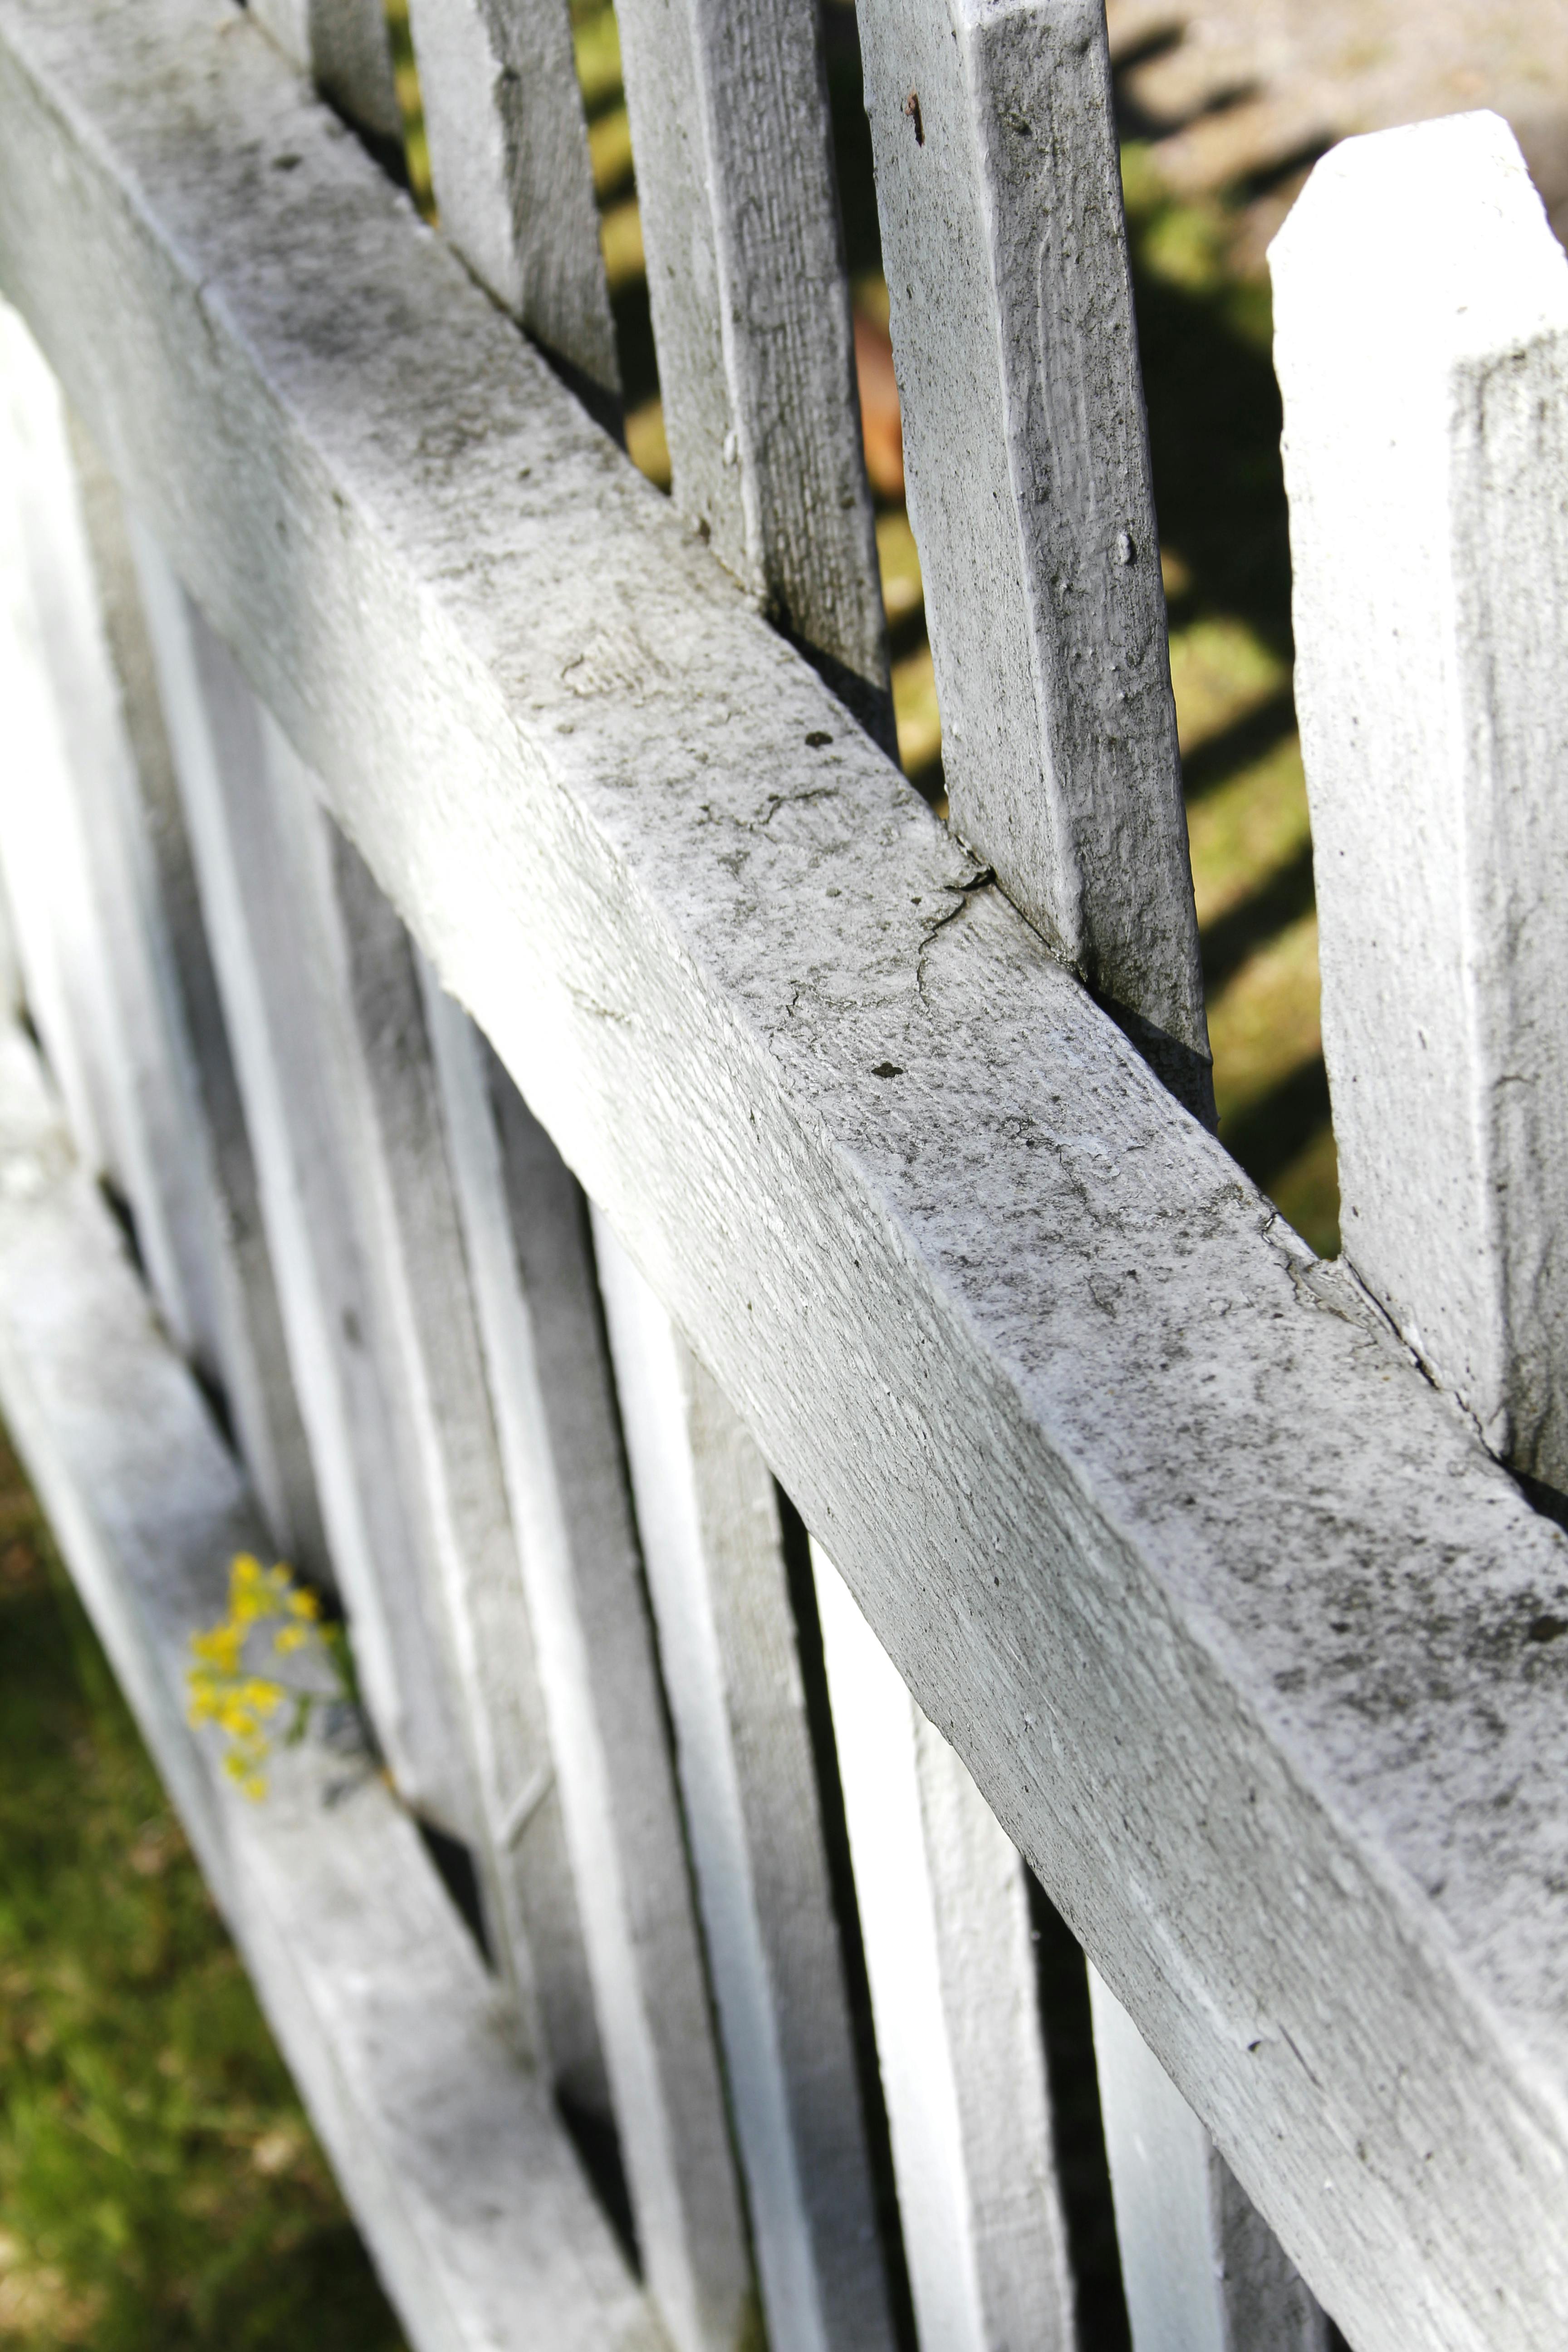
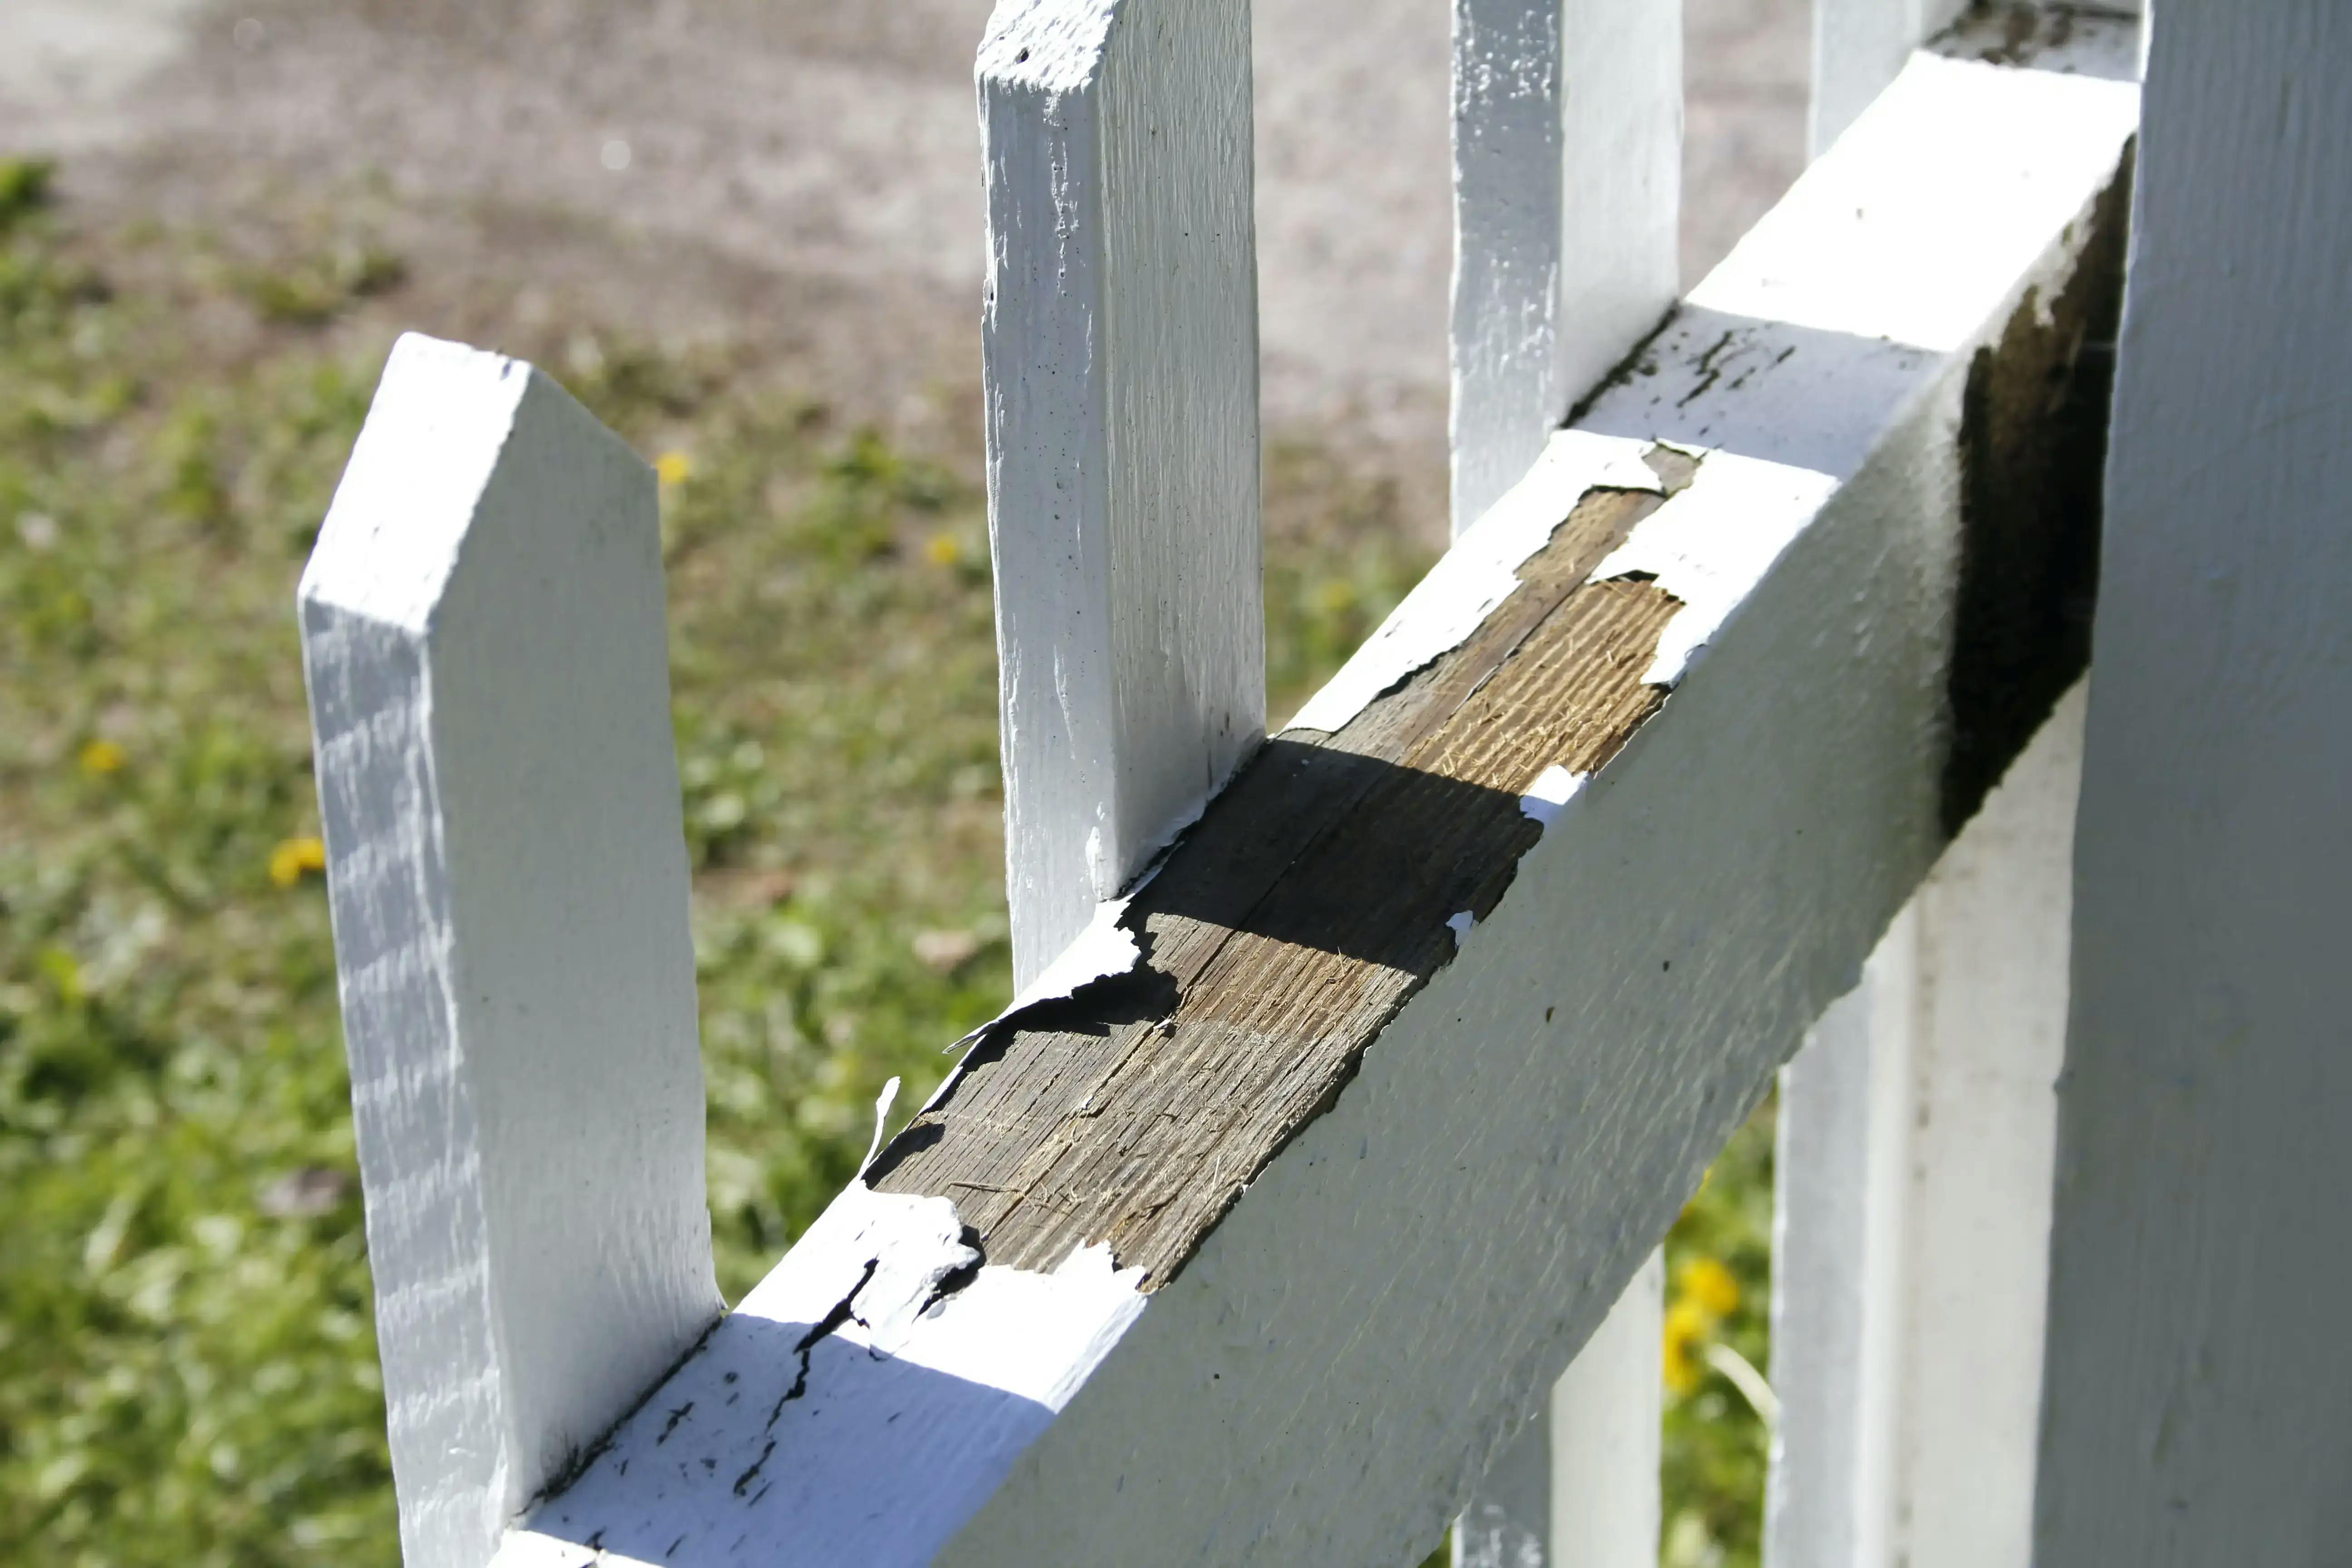
Before you start painting, it is important to plan ahead. Check the weather forecast to make sure it is not going to rain, or that the temperature is not below 5 degrees Celsius. If it is too cold, the paint will not dry. If it has been raining recently, ensure that the wood is completely dry before you start your painting project. While it is possible to paint damp wood, there are multiple reasons why you should not do so. Most importantly, the paint will trap the moisture inside the fibres of the wood, preventing it from drying which will cause the wood to rot.

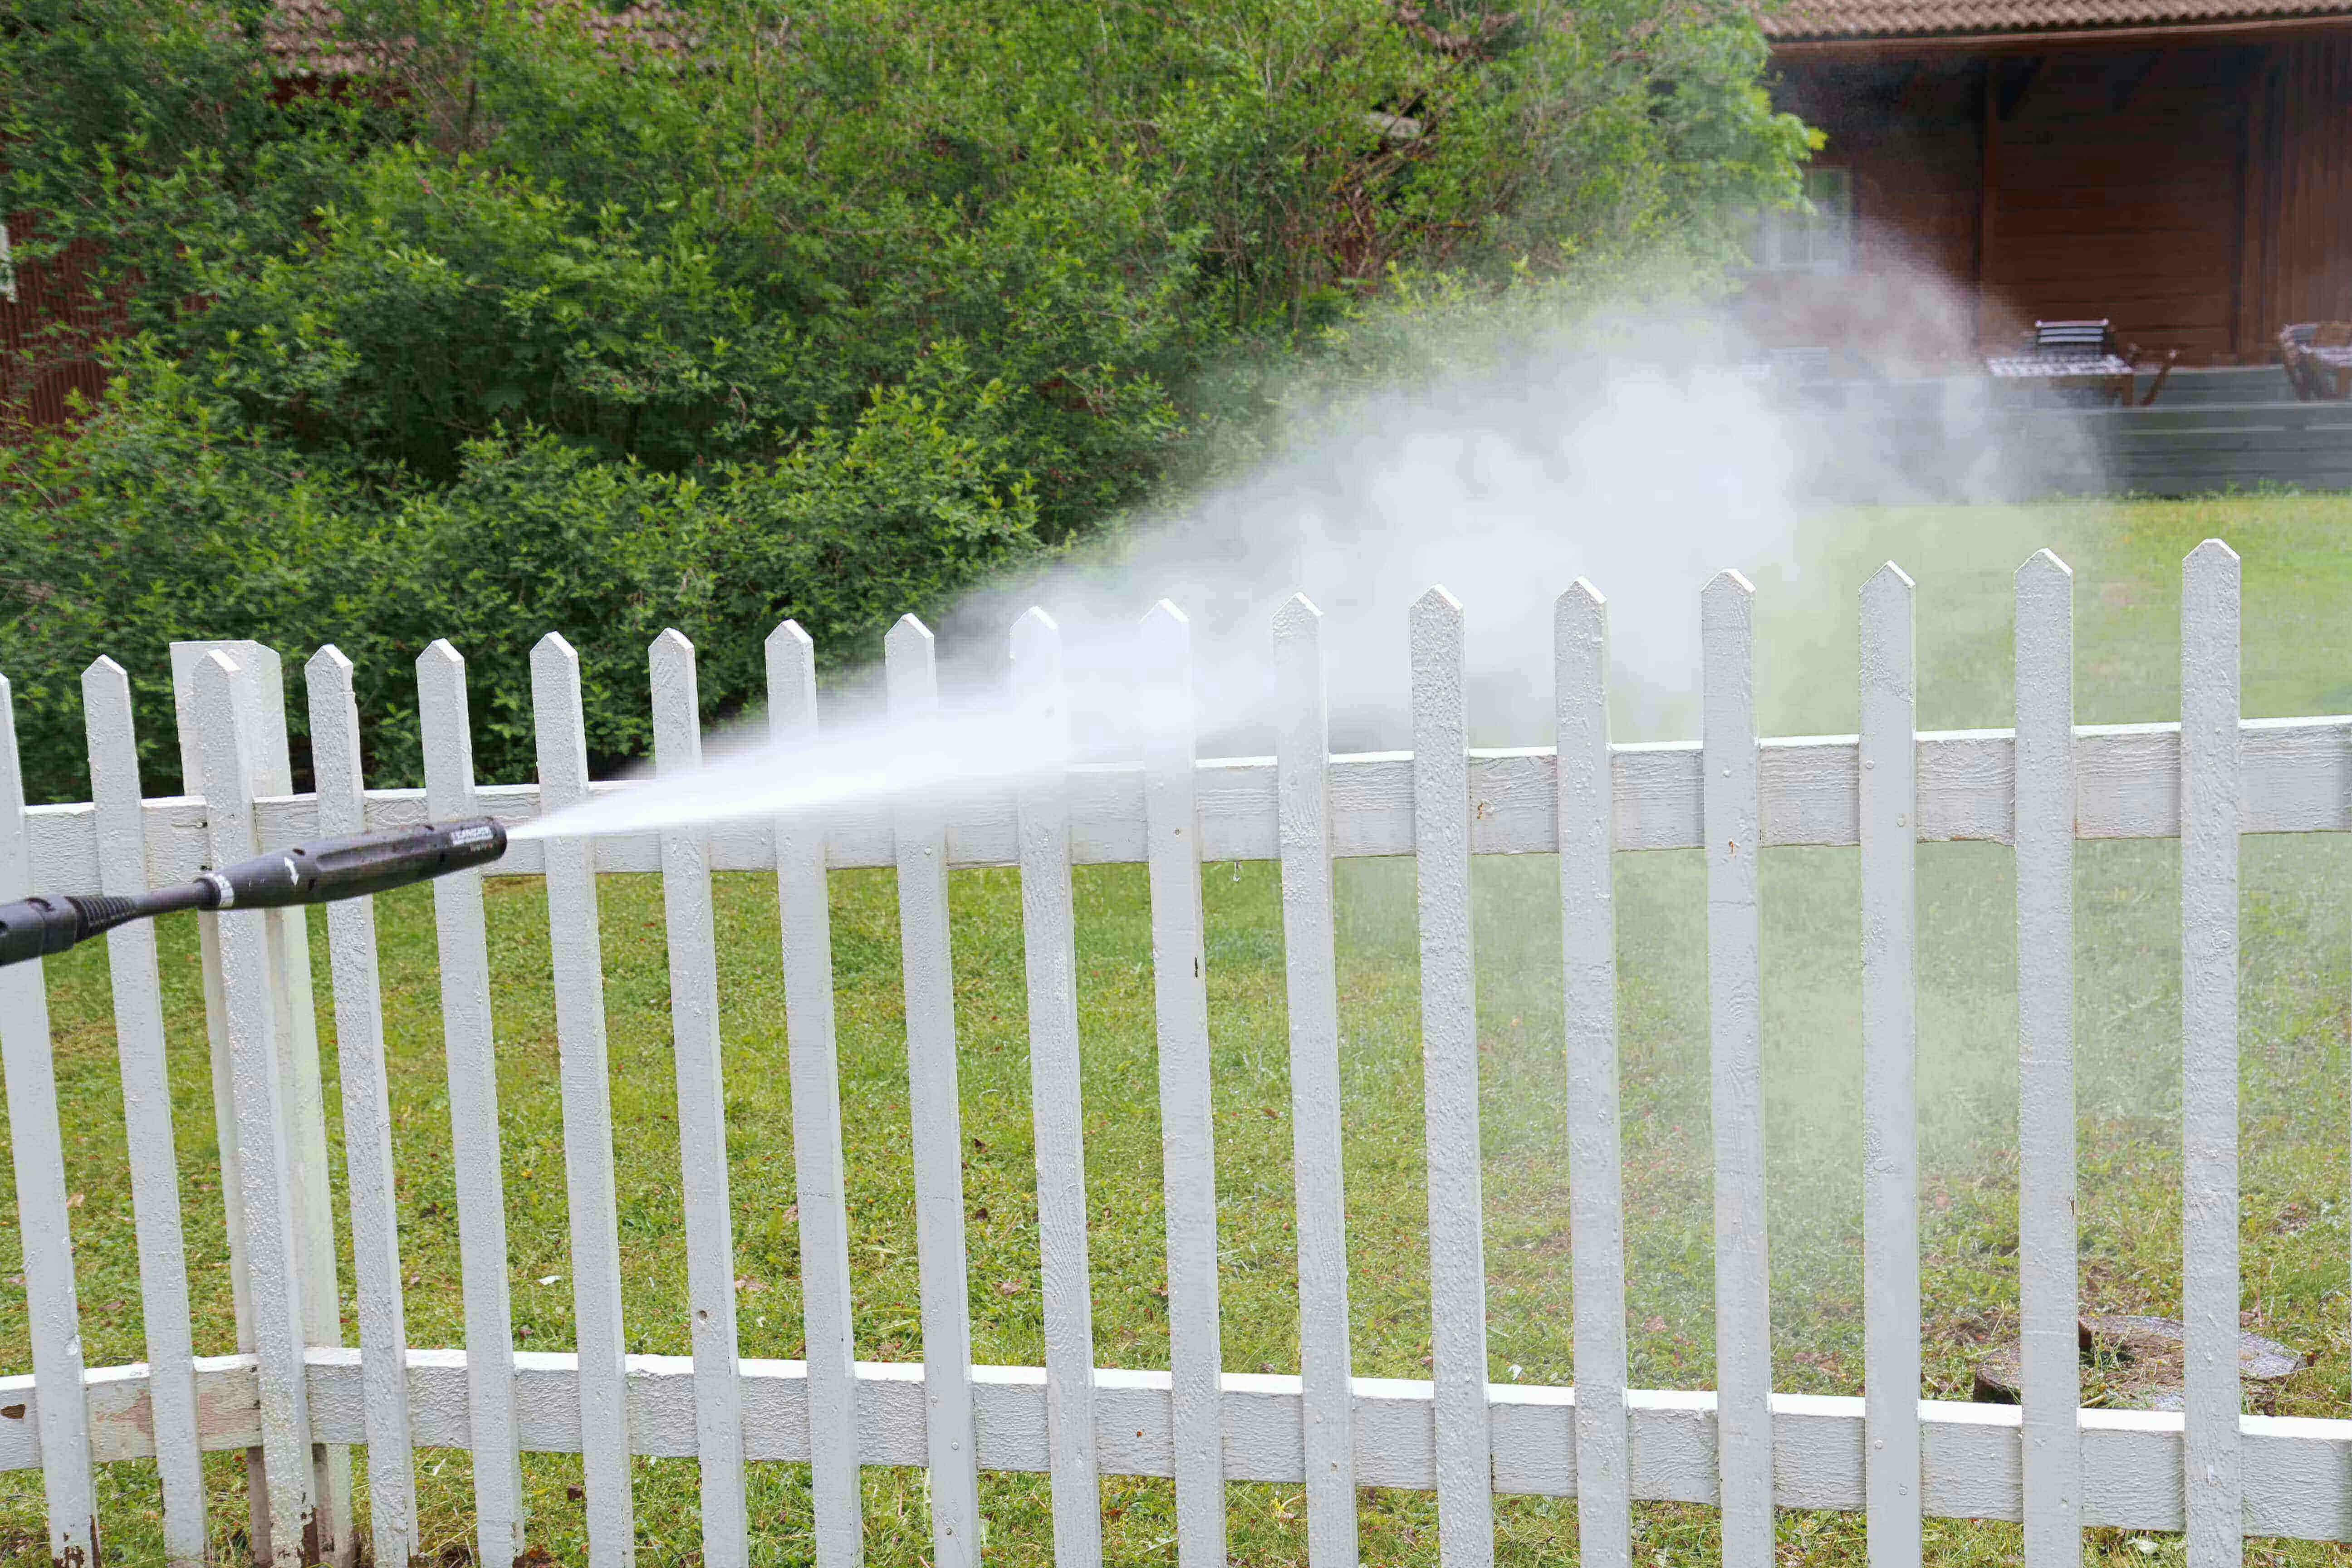
Preparation is key! We recommend that you mow your lawn around the area as smooth ground will prevent from any grass sticking to your freshly painted fence. Also, collect any loose leaves, just in case it gets windy later on.

Last but not least, it is essential that your wooden surface is prepped with a primer. Priming your fence will provide a clean base surface that will help you achieve a smooth end result. It will also bind with your paint coat and create a water-proof seal which will prevent the fence from getting damaged by adverse weather. We advise to treat wooden surfaces with Valtti Primer - our colourless priming oil, specifically created for external wood surfaces. The primes absorbs into the wood, making it water-repellent and protecting it against microbial and insect attack.

Once your primer has dried, you’re ready for your topcoat. When selecting your paint, make sure to choose one that it is suitable for exterior wood surfaces. We’ve used semi-matt Valtti Opaque paint in White to give the fence a crisp, white look. Valtti Opaque is a high-performance microporous opaque paint for exterior timber, developed to withstand extreme conditions. If white is not your thing, explore our Colour Directory page where you can find Tikkurila’s extensive colour range suitable for any exterior surfaces.

Putting the idea into practice

1. FIRST STEPS

Prepare the area around your garden fence, by cutting the grass. Once the lawn is mowed, cover the ground under the fence with a protective sheet underneath it.

Next, clean the surface of the fence with our Tikkurila Homeenpoisto cleaning agent, removing any dirt or loose material and leave it to dry.

2. REMOVE LOOSE PAINT

Fence with chipped paint

Use sandpaper to remove loose paint and any rough areas or splinters that are sticking out of the fence panels, ensuring the wood is as smooth as possible before applying paint. This will give you a better end result.

3. FENCE DOOR

If your fence has a door, follow this step. If it doesn’t, go to step 4.

Apply masking tape to hinges and handles of the fence. We recommend using Deltec Tape Quick Mask Outdoor which is specifically designed for exterior wood surfaces.

4. PRIME

Now it’s time to prime! Apply a coat of primer Valtti Primer to all wooden panels and let it dry completely.

5. PAINTING THE FENCE

Stir the semi-matt Valtti Opaque paint, pre-mixed with the shade ‘White’ or your chosen colour. Usually, Valtti Opaque is used unthinned, but you can thin it with water if you require a thinner mixture for a spray application. Apply 2 coats with a brush or spray. For light-coloured impregnated wood, 2-3 coats are needed. Start at the top and work your way down, so that you can catch any drips. Use vertical strokes for vertical panes of wood and horizontal strokes for horizontal panes as following the timber grain’s direction will provide you with a smoother finish.

6. CLEAN YOUR TOOLS

Clean your tools as soon as you finish to preserve them for future use. Use water with soap or our Tikkurila Pensselipesu tool cleaner for more in-depth results. Make sure to follow the instructions on the label.

For more information on painting or other DIY projects, visit our Ideas & Advice page.

Paint Calculator

How much paint do I need? 

Use this calculator to work out your requirements, if you have any question please get in touch with one of our team who will be more than willing to help you.

Wall 1
Tell us about your paint choices

Disclaimer: Tikkurila UK Paint Calculator is provided as a guide only. The coverage rates will vary depending on surface being coated and the particular product range being used. More information on these products can be found on the cans, on the technical data sheets on individual product pages, by using our live chat service or by calling our technical team on 0131 334 4999.

Every effort has been made to ensure the accuracy of the estimate, however paint requirements may vary depending on the surface, type of paint, sheen level and colour chosen.