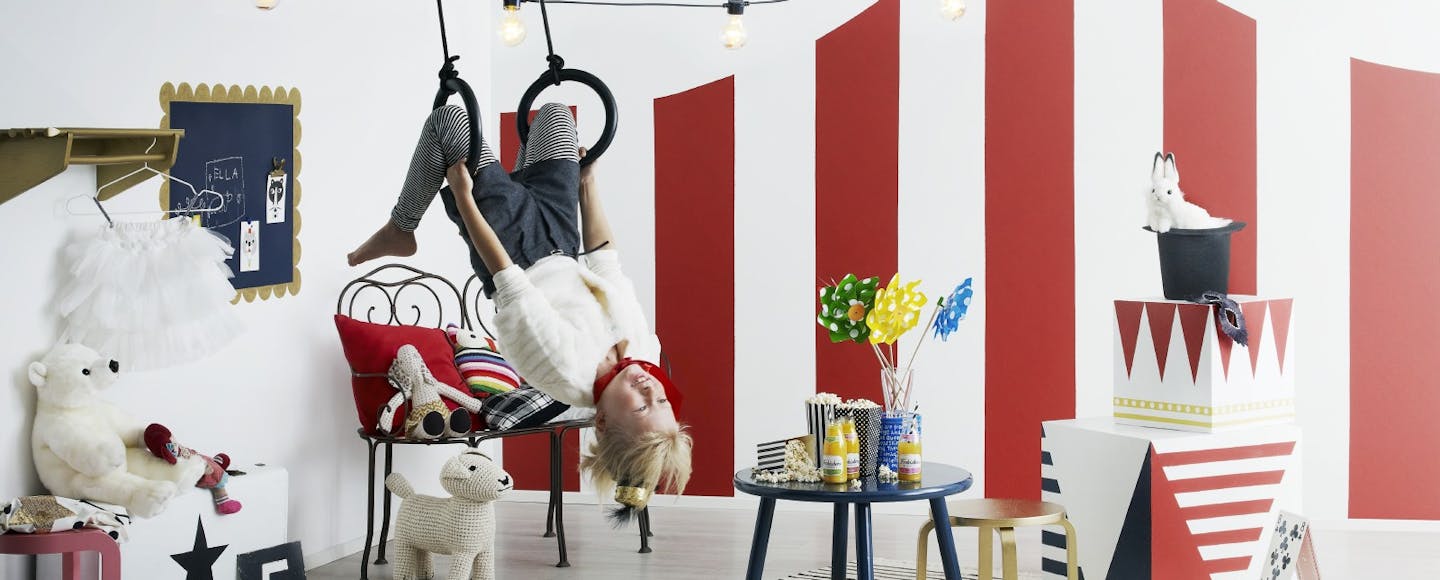
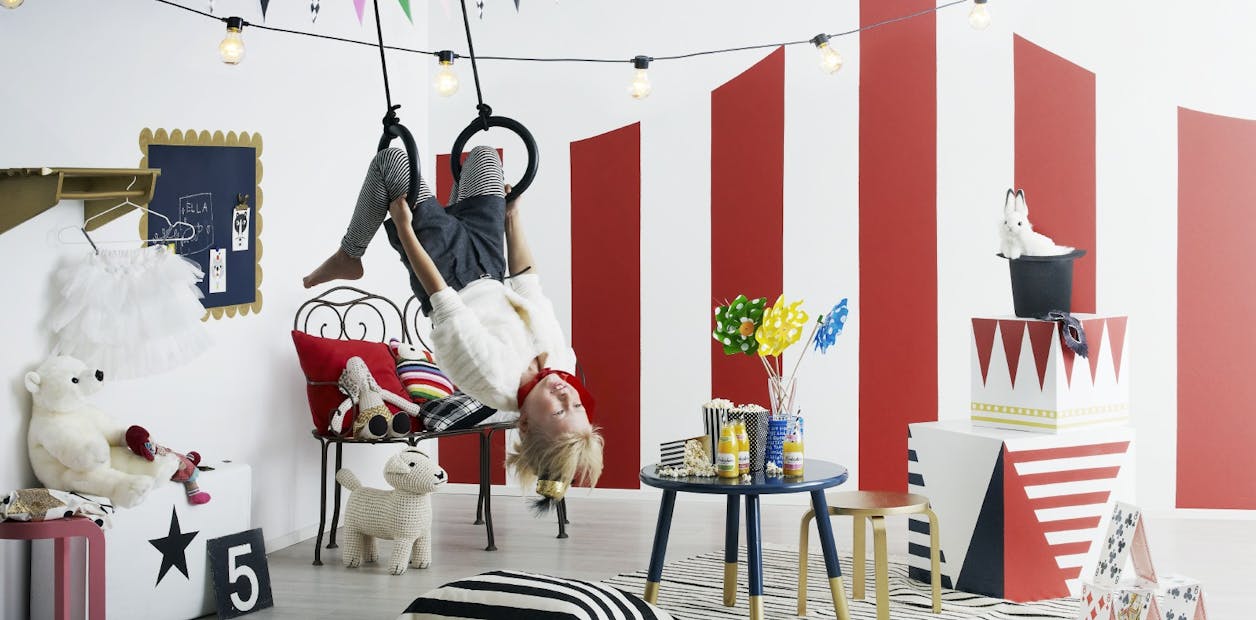
Playful and full of energy, children love the circus. Whether it's the dazzling colours or spellbinding sounds, the magnificent performers or the moments of slapstick comedy from cheeky clowns – the circus is a truly magical place for kids to explore their imagination. And what better is there to bring the circus home by transforming your child's bedroom into a spectacular fantasy? Accentuating your wall with a playful wall mural is the most straightforward DIY project you can undertake to make a statement. Providing a fantastic backdrop for a child's bedroom, these cleverly painted walls allow children to immerse themselves in a world where their imagination can run free. So come one, come all to a children's room carnival!
Picking up the signature colours of a circus, M326 Marmalade from our Feel the Colour collection creates the bold stripe for our tent, while F497 Paper is a soft off-white neutral that adds warmth to any room. We tinted our chosen colours with the full-matt Joker interior wall paint, a luxurious mixture that adds a depth of richness to shades with a beautiful silk-like effect. The Joker range is one of our most eco-certified products in the Tikkurila family. This solvent-free, wash-resistant formula boasts a low VOC-emission level and has been certified by the Allergy, Skin and Asthma Association (Helsinki), the Nordic Swan Ecolabel, the EU Ecolabel and holds the M1 Emission Classification. Making this eco-conscious paint a safe paint option for bedrooms in your home.
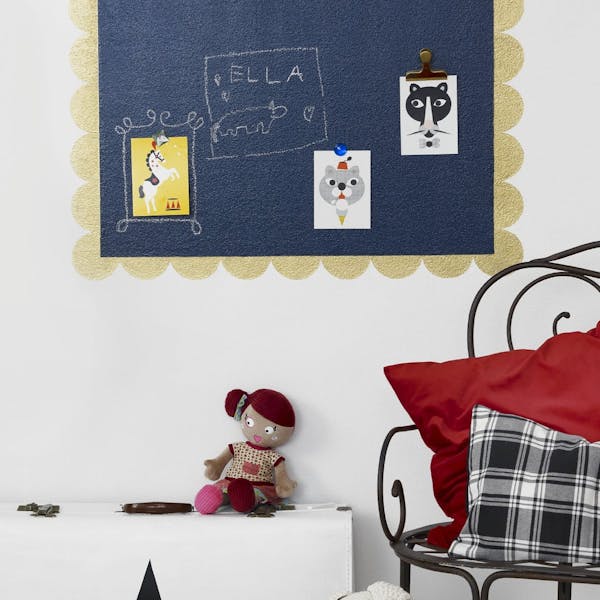
Interactive noticeboards were painted using the Liitu Blackboard Paint, an easy-to-apply paint that can be tinted to any shade from our Feel the colour collection – so there is no need to restrict yourself to a traditional black or green. Here, we tinted our paint with N429 Denim to complement the blue furnishings with a contrasting scalloped edge border using Taika Gold Paint. Go the extra mile and enhance chalkboards using the Tikkurila Magnetic paint. Just like magic, your child can hang up their favourite memorabilia or pictures without the need for screwed fixtures.
Putting the idea into practice
Watch and see how the circus tend walls were painted!
1. FIRST STEPS
Begin by wiping the surface of the wall clean. If the surface requires a deeper clean, use the Tikkurila Maalipesu cleaning agent to remove unwanted dirt and leave it to dry. Lay down dust sheets to protect the floorspace and cover mouldings and sockets with masking tape. If the wall surface needs to be levelled or the previous paint is a darker colour, apply a coat of Optiva Primer. Choose Optiva Primer in the shade close to your new topcoat.
2. PAINTING THE WALLS
Stir full-matt Joker paint, pre-mixed with the shade F497 Paper, well before use and thin with water, if necessary. Apply the first coat with a paint roller or brush, and once dry, reapply a second coat if desired.
3. PAINTING THE CIRCUS TENT WALL
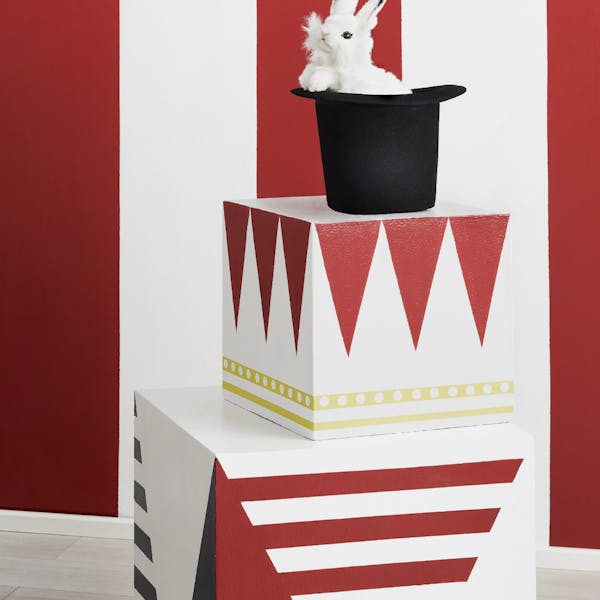
Begin by making the centre of the circus tent at the bottom of the wall. At the point, draw a vertical line to a height of 2 metres with a pencilled dot and hammer a small nail into this mark. At the bottom of the wall, measure horizontally 135cm in both directions from the centre point and mark the endpoints; these indicate the width of the tent of 270cm total. Draw 145cm vertical lines from the outermost points at the bottom using a spirit level. Mark both ends and hammer small nails into the wall. To draw the curved roof of the tent, use string by tying a knot to the centre nail and attach the other end of the string to one of the outermost nails. Follow along the slightly curved line by drawing freehand onto the wall and repeat onto the other side. Finish by applying wide masking tape to the tent's outer edges.
At the bottom of the tent, mark points at distances of 30cm and draw straight vertical lines to the height of the roof edge. Apply wide masking tape to the outer edges of the stripes that are to be painted red. Paint the upper edges of the stripes with a brush, then continue painting with a roller – allow to dry completely and apply a second layer of paint. Remove the tape as soon as you have finished painting.
4. PAINTING THE MAGNETIC BOARD
Begin by measuring an outline of 73 x 55cm and mask off the border with painter's tape. Mix Tikkurila Magnetic thoroughly and apply three coats using a thin nap roller, allowing the paint to dry between each layer. Stir the Liitu Blackboard Paint, pre-mixed with N429 Denim, and go over the chalkboard by applying two coats with a larger roller, allowing the paint to dry for 6 hours between each applied coat. For a scalloped edge border, use a small glass to trace round as demonstrated in the video and paint in Taika Gold Paint for a dazzling result.
Clean your tools with water and soap, or use Tikkurila Pensselipesu tool cleaner for more in-depth results. Make sure to follow the instructions on the label.


