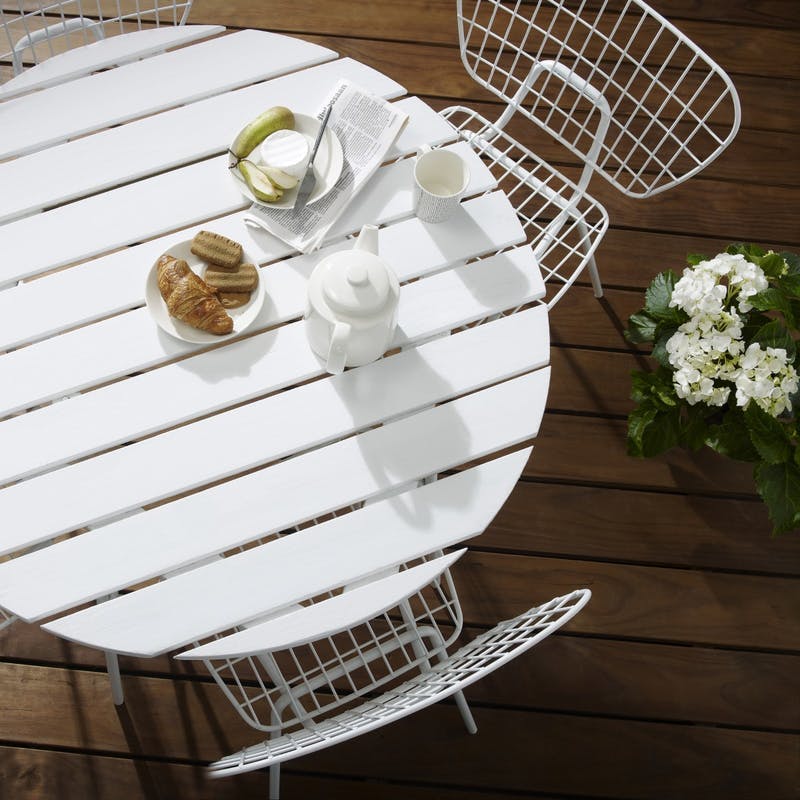
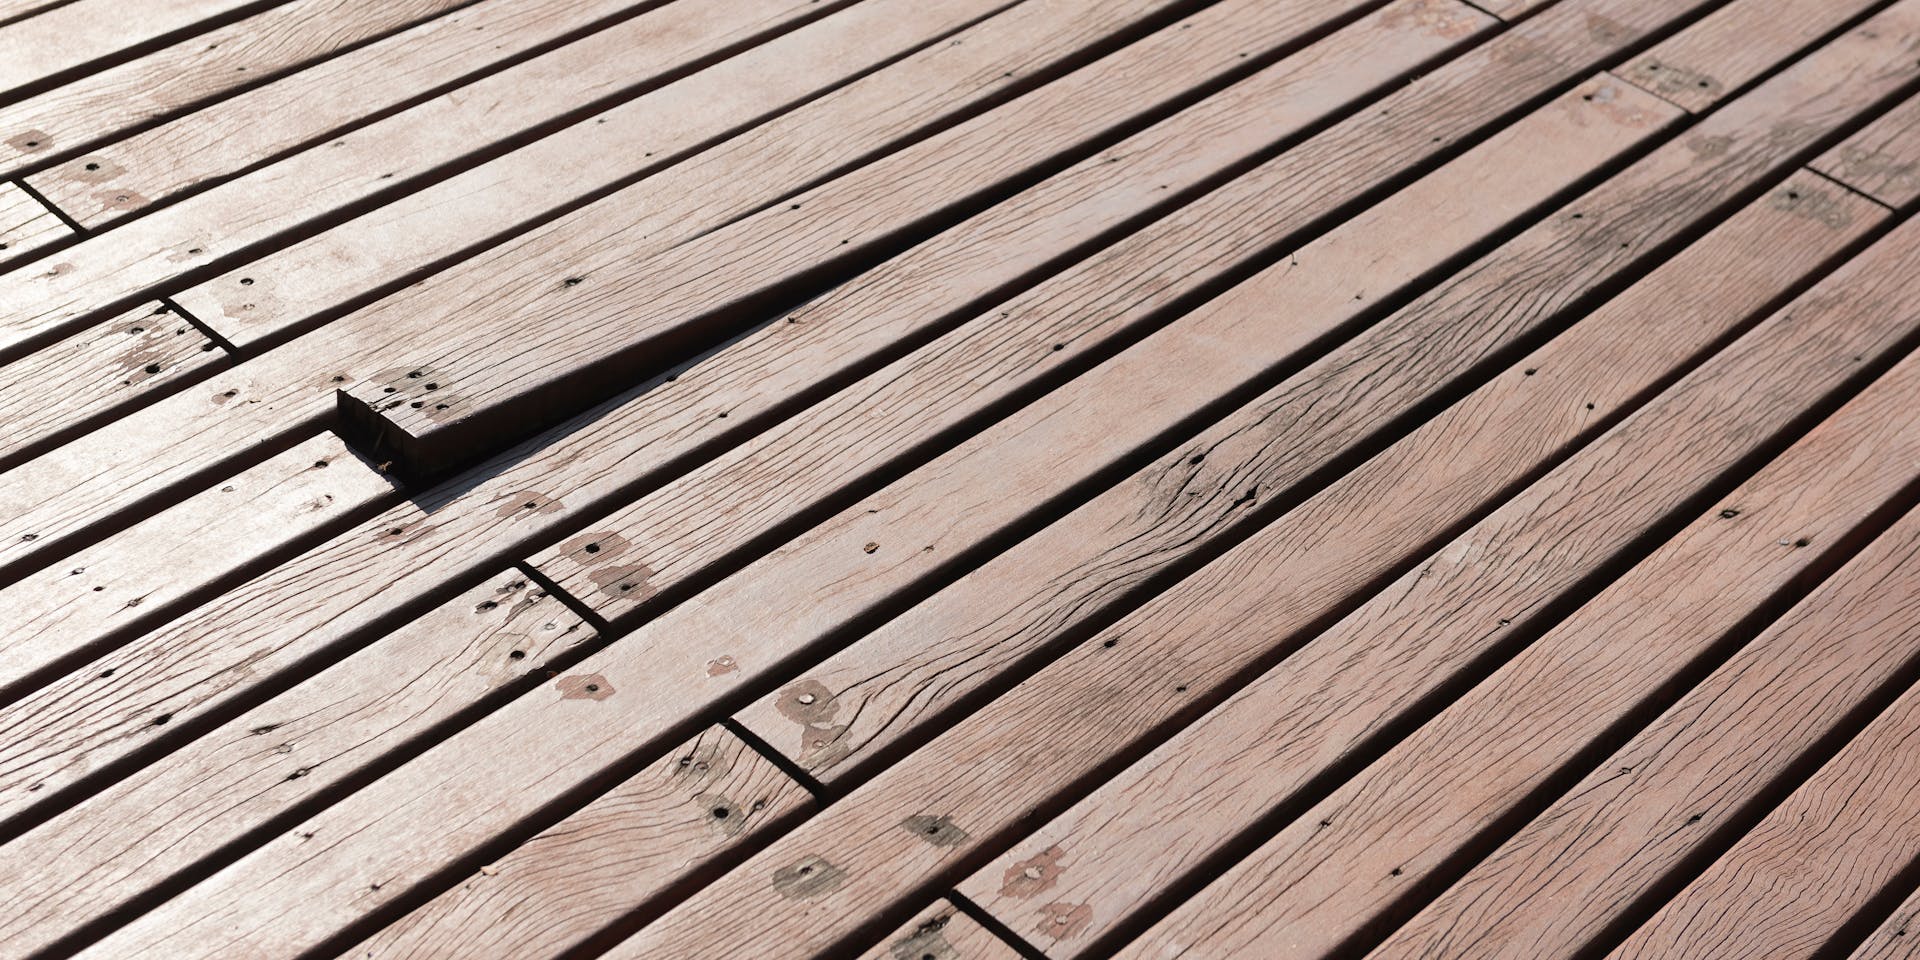
After falling autumn leaves, frosty winter coatings and seasonal showers to contend with, your decking has been through a lot of weathering. With the welcome arrival of spring - and the warmer temperatures - getting out in our back garden with friends and family is the escape we all need.
Cracks, peeling, and dull-looking decking can all be a thing of the past. You deserve to unwind in an outdoor living space that both feels and looks fantastic. As you prepare to enjoy the summer sun, read our step-by-step guide on how to paint decking the easy way - restored with our decking paints (wood stains and oils).
Before painting your decking
First thing's first. What is the current state of your decking?
If the wood appears dry and faded, it's time to apply a maintenance treatment to bring it back to life. (Worth noting, this re-treatment phase may be required anytime between 1-3 years, depending on the product previously used).
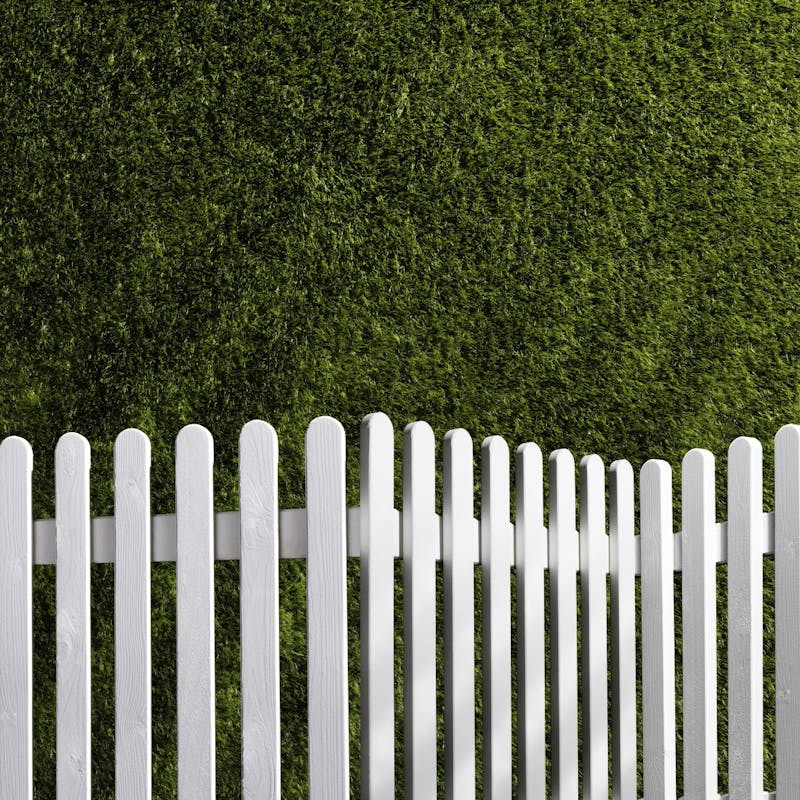
If it's newly laid, or you're thinking about adding decking to your garden as part of creating your dream outdoor living space, bear in mind it's wise to leave your decking to be naturally weathered by the elements over the first six months of being laid, allowing for any existing treatment to erode.
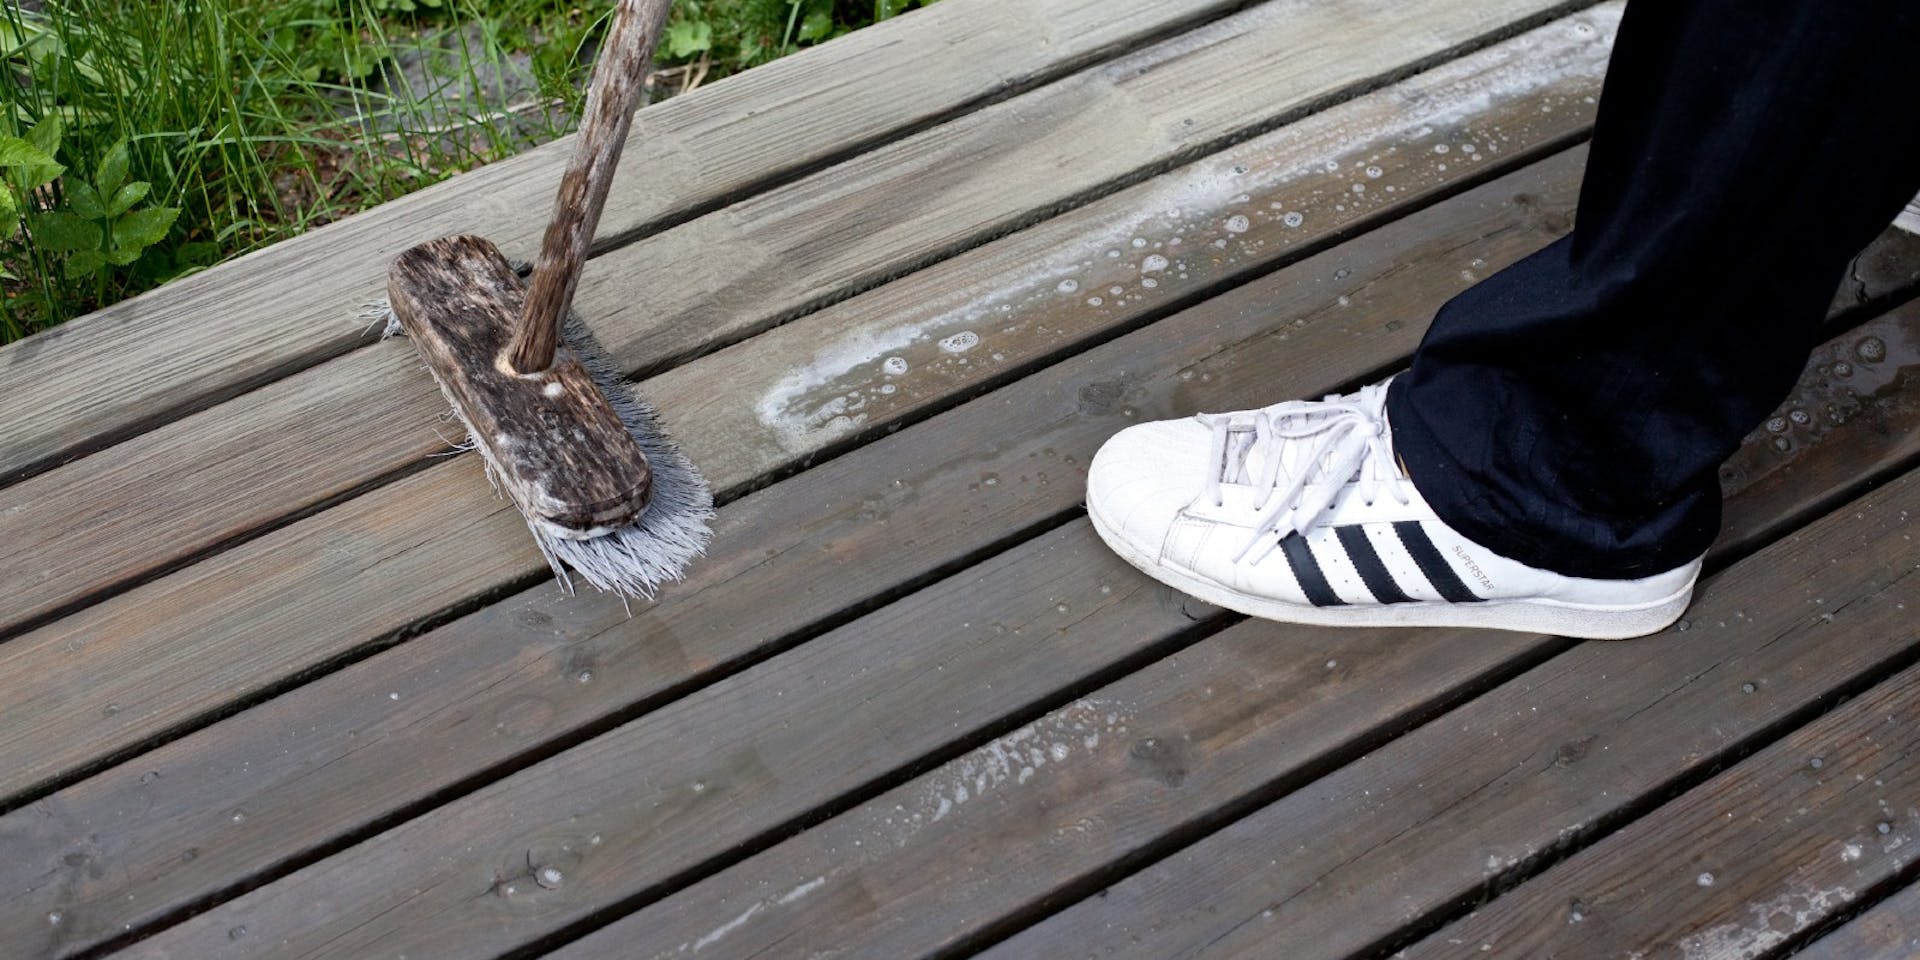
Preparing your deck
Start by clearing the space and giving it a good sweep. Wiping the surface of the decking is critical to remove dirt, dust and other loose material. Surfaces that have been previously treated with wood oil will need to have any loose material on them removed with a scraper or a wire brush. Pro tip: if you do have to scrape away loose material, we recommend sanding thoroughly afterward to ensure a uniform finish. Continue reading for sanding advice.
If you need to tackle mould or moss growth on your decking, use Tikkurila Terrace Cleaner (Terassi-Ja Kalustepesu) - a high-strength cleaning solution that's especially tough on darkened, weathered wood prior to re-treatment. Once applied to the unwanted dirt, leave it to dry. If there's a visible film on the surface, rinse it off with a hose or bucket of water. Let the deck dry fully - overnight ideally.
Weather conditions
Before proceeding with the next steps in the process, including any scraping or sanding (should this be required), make sure the decking is completely dry. The moisture content of the timber must be less than 20% in order for our wood oils and stains to adhere effectively. If you don't have a moisture reader, you can get a reasonable estimate by guaranteeing the decking is completely dry.
If it's a particularly sunny day, your decking may dry in a matter of hours, but it's best to let it dry completely overnight.
Scraping and sanding away old stain or paint
This step is most appropriate for older decking. You can safely skip this step if you've newly laid decking within the last six months.
Remove the old paint layer, stripping back to the bare wood using a scraper, being careful not to scrape the wood underneath.
When sanding, you could use a dustless sander to smooth out the wood. Use the sander over any rough edges or spots initially with an 80-100 grit sandpaper, being sure not to press too hard on the wood. Remember you don't want to sand down the wood much - only smooth it to make applying the paint to the decking easier. Pair this with a stronger 100-120 grit sandpaper on particularly stubborn spots. And be sure to wear a proper face-fit dust mask (with filters ideally) when power sanding for long periods of time, even if you're using a dustless sander.
Alternatively, use a hand sanding block such as the Mirka Handy Kit. This ergonomically designed hand sander is easy to manoeuvre across surfaces and is ideal for beginners and smaller jobs.
After scraping and sanding your decking, run a broom over the surface again to sweep away any dust or debris. This will ensure your decking is clear and completely smooth ahead of painting. When painting (or repainting) your decking, you need to start with as blank a canvas as possible.
 Mirka® Handy Kit
Mirka® Roundy Kit
 Granat sanding block
 Heavy duty scraper great for removing paint and returning surfaces to bare wood.
Good housekeeping
Repair any loose, damaged boards or nails on the deck. Before you paint, check for any boards that are loose and secure them with nails before you start painting. Remove any damaged boards and rusty nails and replace them with new boards and nails, as well as levelling out any uneven nails with a hammer so that they sit flush with the wood.
If you notice there are any holes or gaps in your decking, it'd be good to fill in any cracks in the wood with a suitable filler, in a closely matched colour. Apply a thin layer of putty along cracks in the boards and sand smooth again. Ensure that the putty is flush to the wood so it blends well with the surface ahead of painting the deck. If some of the boards have serious cracks or holes in them, replacement boards may be better than filling.
Tikkurila recommends: If there are any stubborn stains that weren’t successfully removed with Tikkurila Terrace Cleaner during the preparation stages, we would recommend painting your decking in darker colour. The same applies if the process of scraping and sanding loose debris and particles from your decking was required. A darker colour will help to conceal dark stains, patches, and offer a more sympathetic finish on an uneven texture.
Choose your paint and colour
The last thing to do before painting is to select your decking paint. Our durable, exterior product range has been specifically designed to withstand the elements and deliver long-lasting results; meaning you can spend less time on repairs... and more time enjoying your garden! The range includes wood oils and semi-transparent stains available in an eco-friendly, water-based formula as well as a traditional and solvent-based one. Browse our decking paint range below.
Need more advice on choosing your decking paint? Visit our Exterior Wood Stain Hub for more information.
Browse our decking paints
 Valtti Bio Terrace Oil is a high-performance, partly plant-based oil for garden decking & furniture
 A high-performance, premium wood oil designed for use on exterior decking, stairs & furniture
 A next-generation oil for exterior wooden furniture, stairs & decking. Long-lasting weather protection
Multi-purpose, solvent-based oil for exterior wooden furniture, stairs and decking
Colour Choices
We recommend using a tinted product because it withstands weathering better than a colourless one. When choosing the most suitable colour for your garden, take into account that the final shade is affected by the current colour and porosity of the wood.
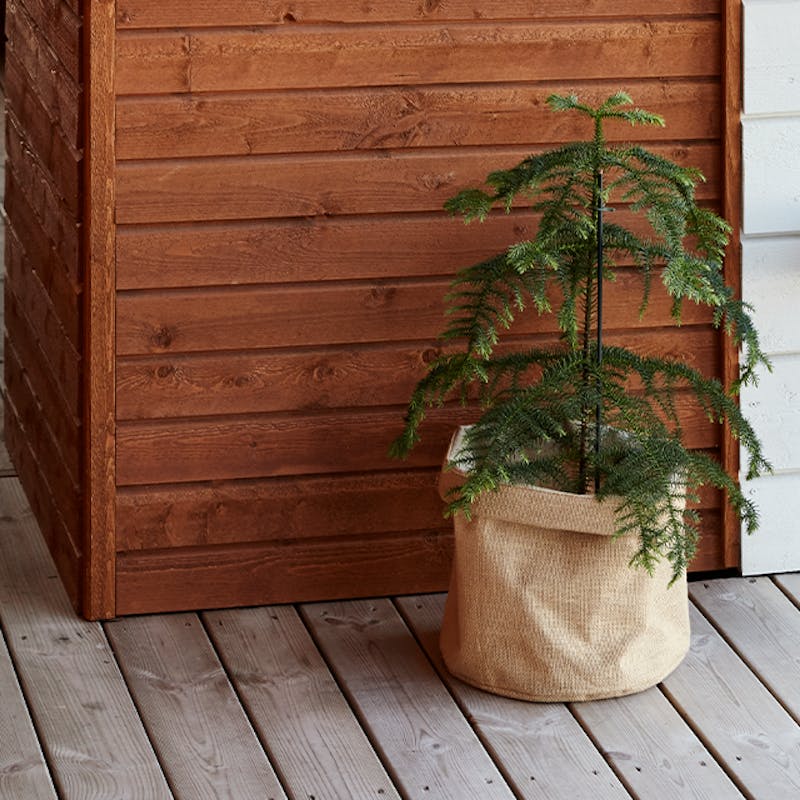
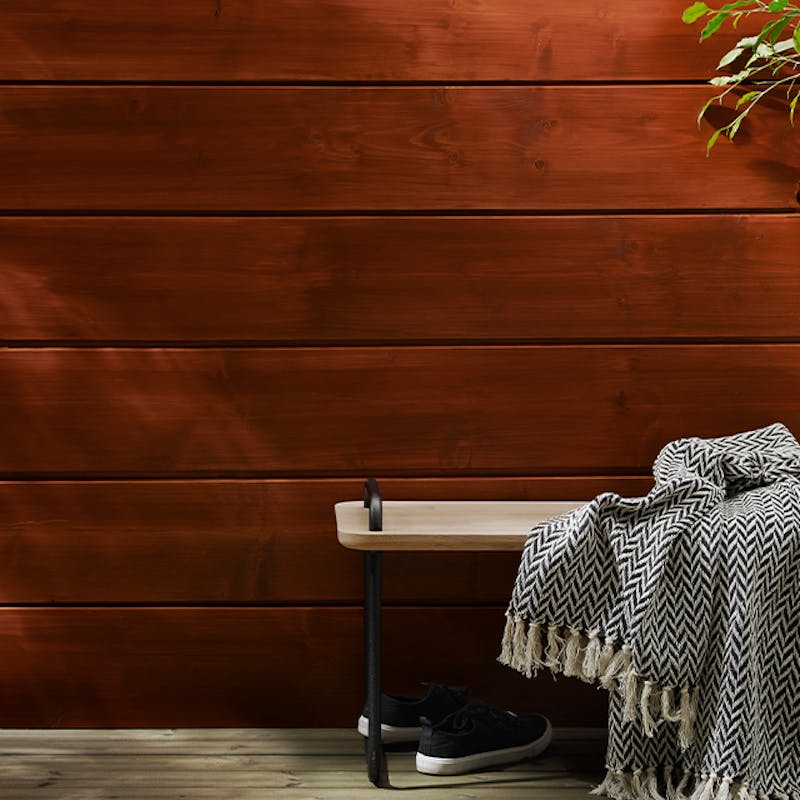
Brown, grey and black are the most popular choices of colours for decking. Brown wood oil deepens and evens out the natural colour of the wood, whereas grey gives the surface a vintage look. For a more modern and distinguished appearance, black is a great option. If traditional colours are not your thing, our wood oils can be tinted in various colours, to suit your personal exterior style.
Charcoal 3445
Storm 3464
Boulder 3465
Blackberry 3444
Hay 5064
Reed 5061
View all of our exterior wood stain collections online below:

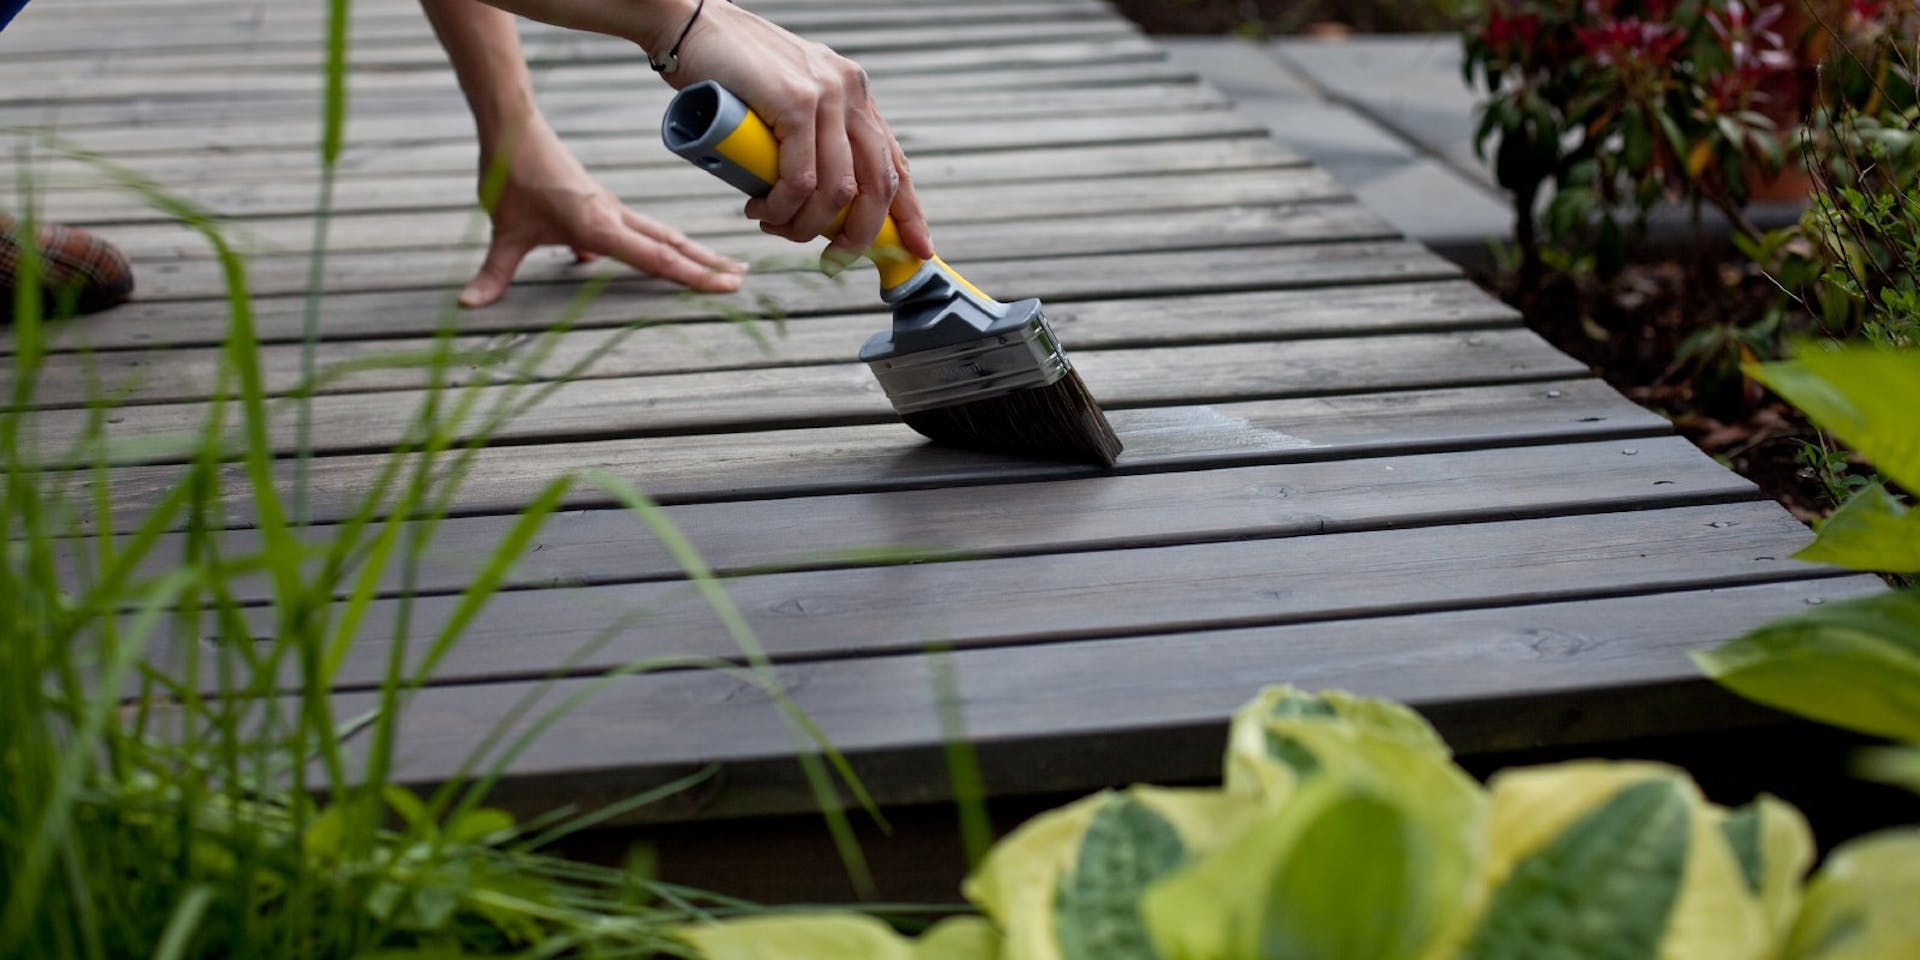
Applying paint to the deck
With preparations made, you can now safely paint your decking. Before starting, be sure to use a thick masking tape made for painters who'd like a precise finish and protection for areas near walls, railings and windows near the deck to be painted. It must be painter's tape to ensure it securely sticks to your decking surface. We recommend Deltec Gold or Deltec Extreme.
Especially worried about adjoining walls, doors or windows close by? We recommend the Deltec Static Masking Foil for outdoor surfaces. A high static foil clings to surfaces as you roll it, with built-in painter’s tape. Consider covering any pots or plants close to the deck before painting so as to avoid any splatters.
Timing is also a factor. Wait for a time of day when the area is in the shade as you don't want to be painting decking in direct sunlight, if at all possible. Of course, it may affect your vision, though also you don't want the paint to dry too fast, making it appear uneven or patchy. The best time to paint decking is early in the morning or later in the afternoon when the deck is most likely in the shade.
Get painting the decking
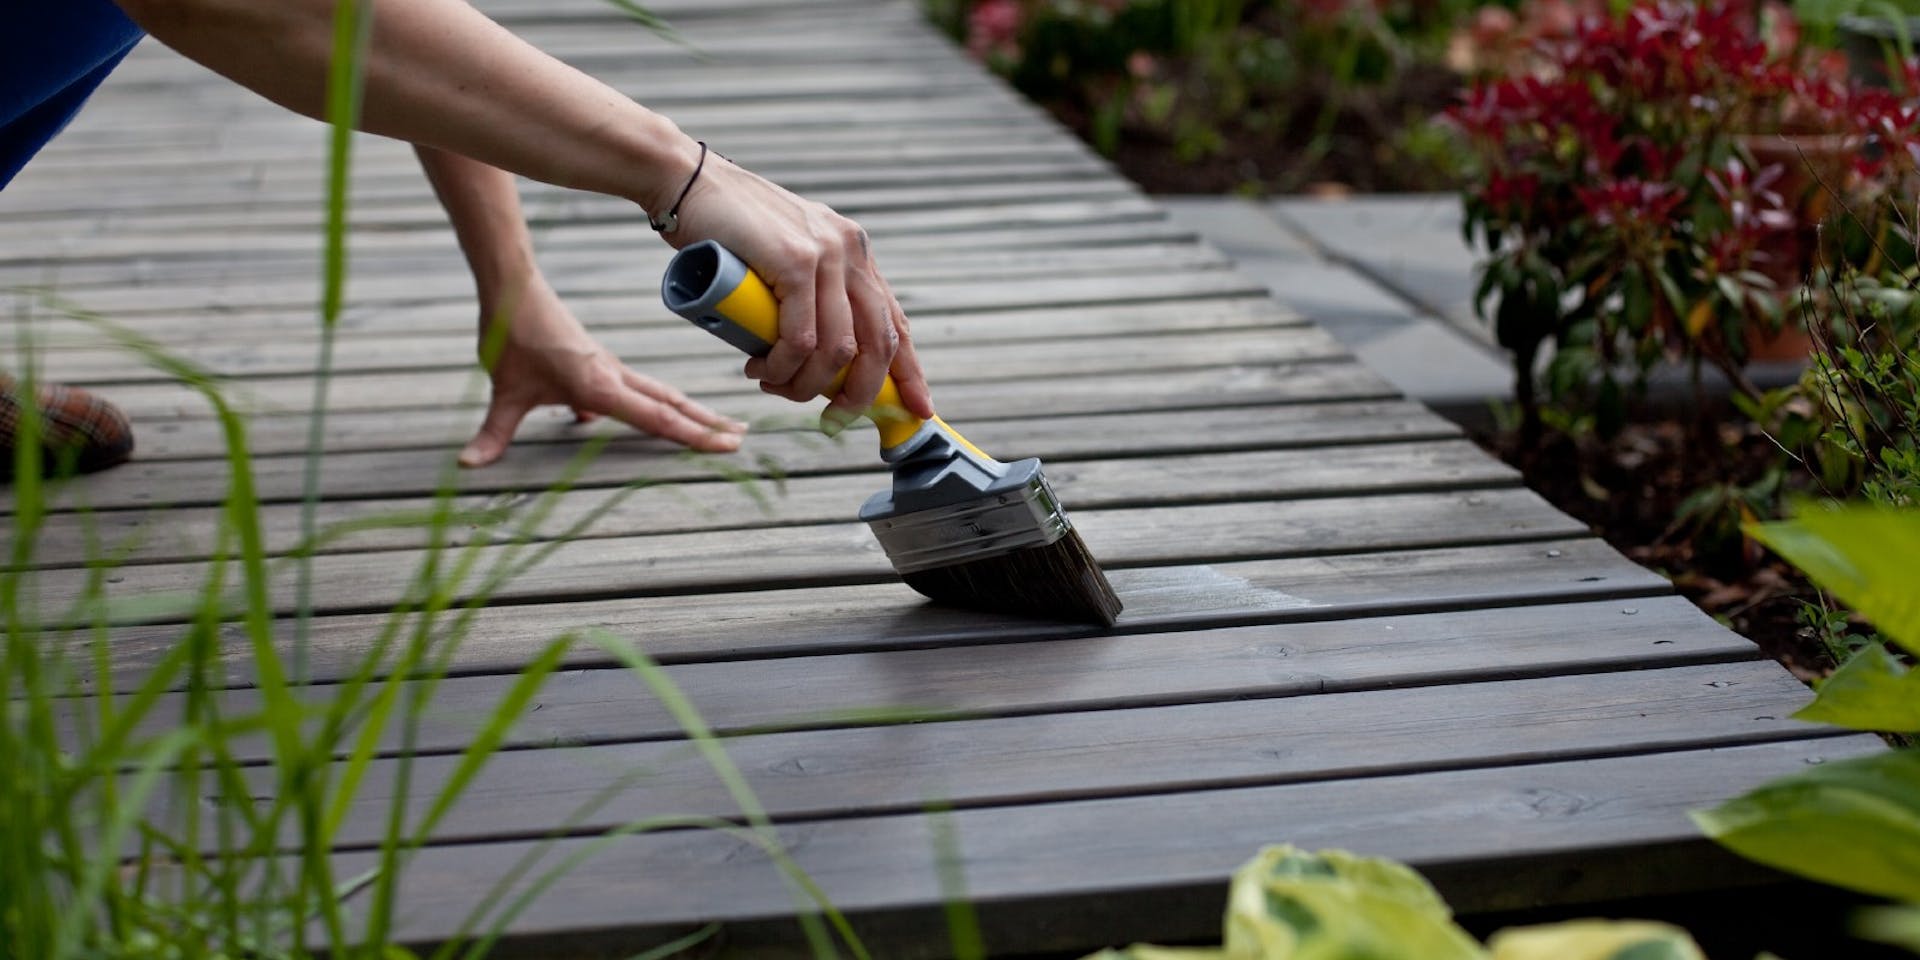
Make sure you thoroughly stir your chosen paint before use and from time to time during application.
Use one from a selection of our paint brushes for more intricate parts like painting a wood ceiling or awning on your deck first. Our top recommendation is the Hamilton Performance Timbercare Brush, specifically designed for painting exterior wood. Paint the posts and railings after. Use gentle, even strokes to cut the edges or corners so they're suitably covered. It's the best way to avoid paint drips or uneven edges and corners.
Then paint your deck from top to bottom, one section at a time, starting from the area furthest away from the doorway in smooth, even motions using our Terrace Oil Squeegee or a paint roller - making sure to consider a paint roller cleaner if you've applied a wood stain or you're re-using the roller from a previous paint job. You could even use a broom to apply! Spread the oil following the grain and grooves of the wood to paint the decking quickly.
Work from corner to corner of the decking that you've cut with the paintbrush earlier, applying a small amount of paint at a time, so it doesn't clump or dry too thick. A paint roller that's 3/4 inch (1.9cm) thick is best for painting rough decking, whereas a roller that's 3/8 inch (0.95cm) or 1/8 inch (0.32cm) thick is ideal for painting exterior wooden surfaces that are medium rough. Use a roller with a sponge-like foam if the decking is smooth and has very little rise in the grain.
For the smoothest finish, feather out the still-wet paint with a paintbrush, making sure to gently move the paint from side to side, evening out any roller marks or paint clumps on the decking. Feather out the paint one section at a time to ensure your painted decking dries with the best results.
Leaving to dry and applying extra coats of paint
For the strongest colour, we recommend applying two or three coats of paint to your decking. This requirement will differ depending on the type of wood being painted. (Because wood is a natural material, no two panels will be identical. Some absorb paint quickly and completely into the wood, while others with a higher density coat faster). Touch up any areas with your paintbrush once your last coat of paint has dried overnight, giving careful consideration to uneven or patchy areas.
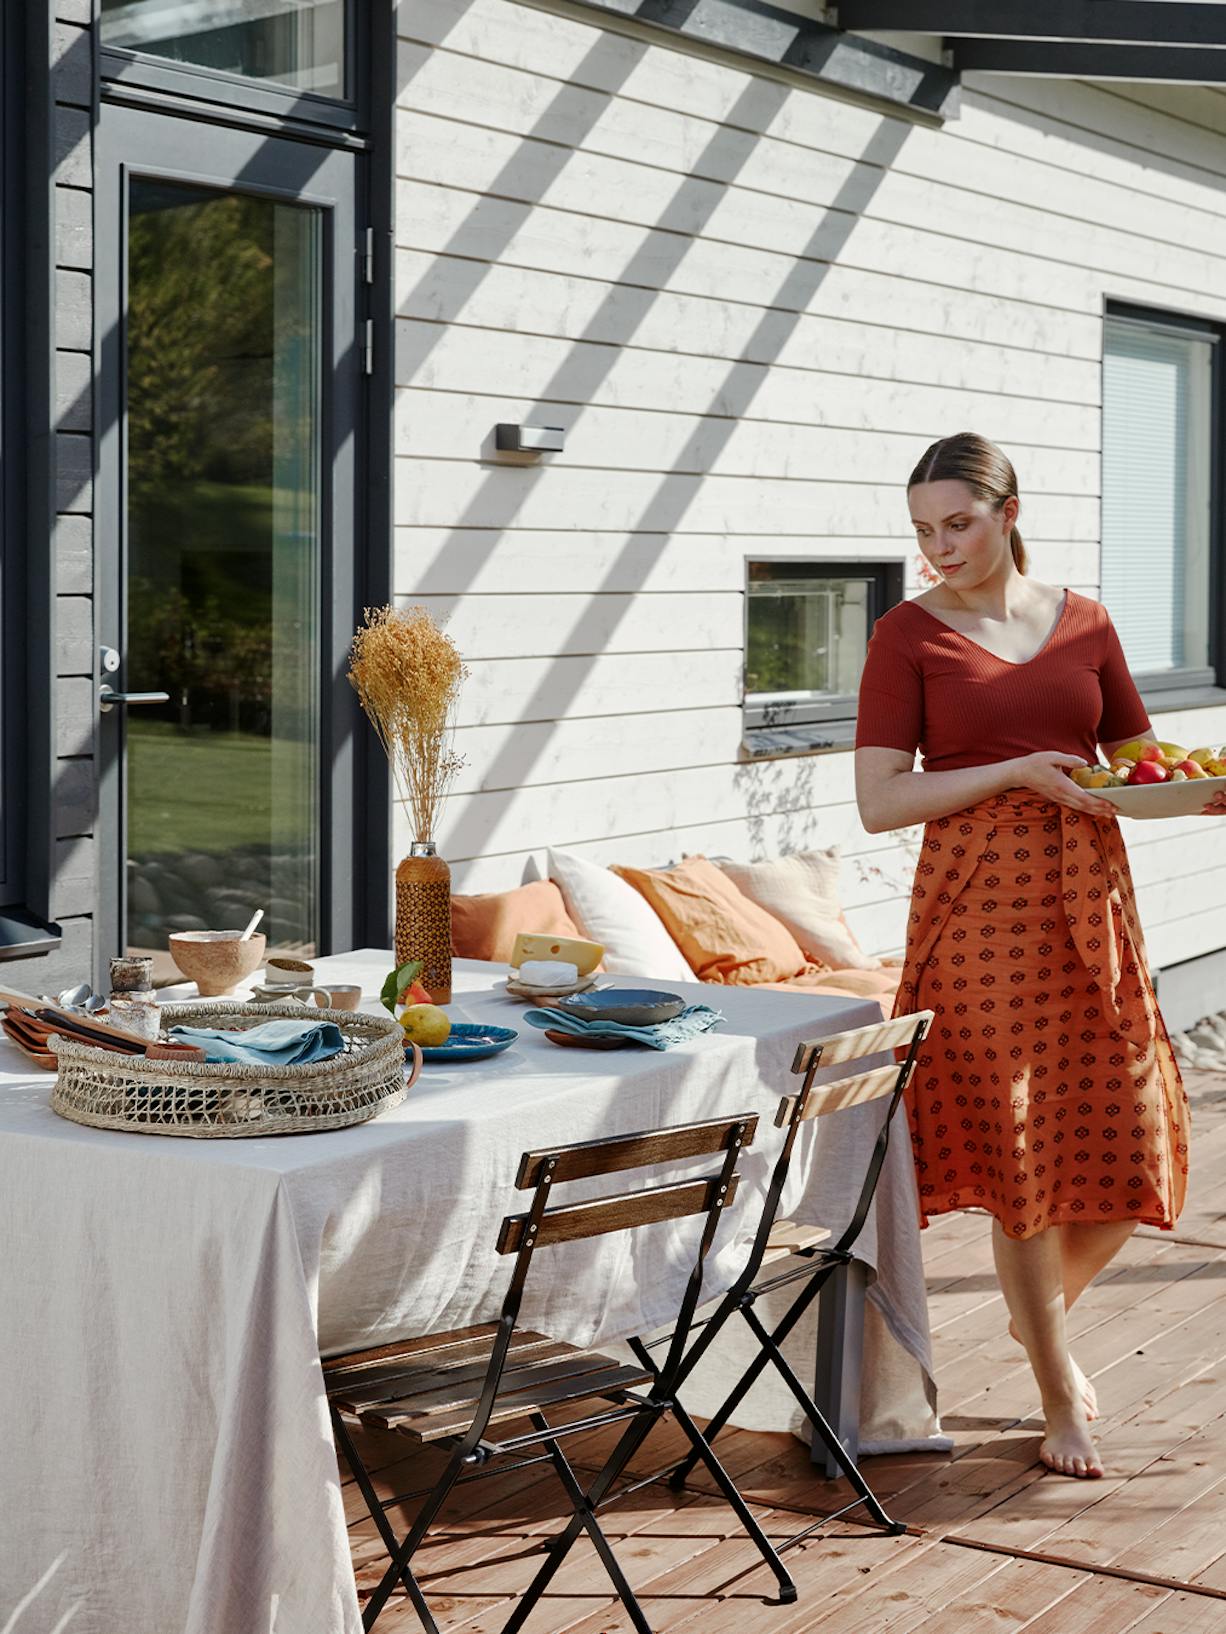
With your newly painted decking looking uniform and even, you can now start to make plans for the summer with your friends and family and really make the most of your stunning new outdoor living space. You've done the hard bit, now it's time to enjoy.
The paint should help the decking stay dry and protect the wood from fading or damage throughout the summer and sunny weather beyond. Recommended maintenance intervals when to repaint decking is typically between 1 and 2 years.
Now kick back and enjoy your hard work!

FAQs
Can you paint decking?
Painting decking is not only possible, it is a great idea. Though, there are certain things you must consider on how to do it properly, from preparing to painting and maintaining your decking. Whether you're wanting to add protection to your decking or invigorate your outdoor living space with a splash of colour, painting decking is perfectly fine.
What are the pros to painting decking?
If properly treated, your wood will be protected, and dirt should wash right off. Your wood will also be rot and mould resistant, as well as resilient to sun damage and UV rays. Our wood stains can be used to create a one-of-a-kind finish for your home and are available in a selection of natural wood-like colours that can be used to blend in with the surroundings, or in bold hues for a statement look.
For the most natural stain like finish, we recommend using Valtti Plus Terrace Oil, available in three more natural, distinct colours: black, ash grey and brown.
For a wider range of colours, try Valtti Plus Wood Oil.