
Your living room is the heart of your home, a place where comfort and style come together. When it's time for a makeover, a renovation can make your space come alive. In this article, we'll guide you through the process of a living room renovation, skillfully executed by the professionals at Splashofcolour Painters & Decorators.
Before and after
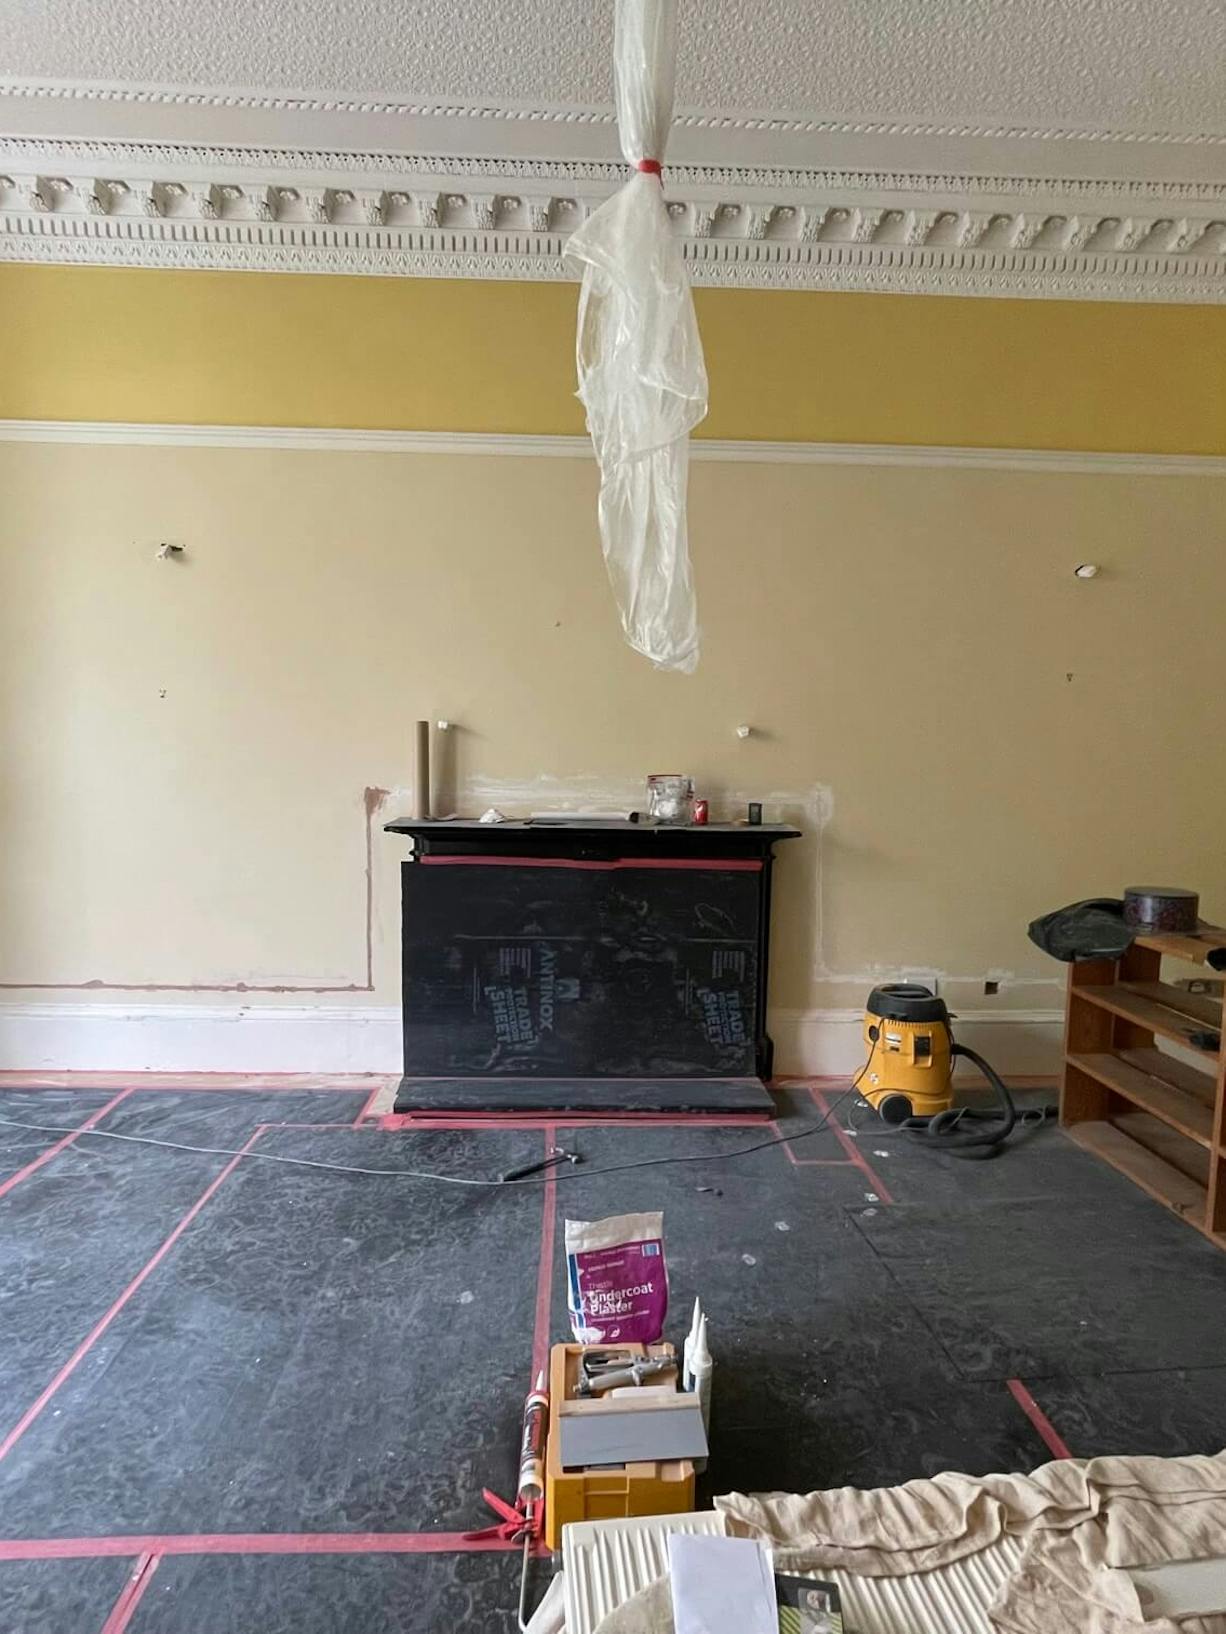

Preparation & Priming
Splashofcolour Painters & Decorators kicked off this project by sanding and filling all the walls and ceilings. This essential step ensured that the surfaces were smooth and free of imperfections, providing a clean canvas for the upcoming transformation.
To prepare for painting, the team applied primer coats that would create a solid foundation for the final finish. Optiva Primer was used to prime the surfaces, ensuring excellent adhesion and durability. For the ceiling, Anti Reflex 2 was chosen, a smart selection that prevents unwanted reflections, enhancing the overall ambiance of the room.

Painting
With the surfaces prepared and primed, it was time to infuse the living room with colour and character. Splashofcolour Painters & Decorators opted for Optiva Colour for the walls, a full matt emulsion formulated to reduce sparking and flashing whilst providing high coverage and depth of colour. This high-quality paint not only added a fresh burst of colour to the room but also guaranteed resistance to the wear and tear of daily life (Wet Scrub Resistance Class ll).
Expertly applying the chosen paint, the team transformed the living room into a vibrant and inviting space. The careful attention to detail ensured an even and consistent finish, making the room a true centerpiece of the home.


Primer & Topcoat Paint Used
- Optiva PrimerMatt
 Highly-absorbent primer for walls and ceilings.Suitable for new and previously painted surfaces.
 - Optiva ColourMatt
 Durable trade matt paint for interior walls and ceilings. Water-based with zero VOCs
 - Anti Reflex White (2)Full Matt

A high-opacity, flat matt paint for interior ceilings. Eliminates flashing
Similar Colours
Fjord M442
Misty Green-Grey
Ficus N378
Deep Forrest Green
Abyss N439
A Dark Green With Blue-Grey Undertones.
To see more projects by Splashofcolour painters decorators ltd, be sure to follow them below:
Website: https://splashofcolour.biz


